

We may earn money or products from the companies mentioned in this post.
A leaking kitchen faucet handle often indicates worn-out seals or O-rings. Fixing the leak typically involves replacing these components.
Dealing with a leaky kitchen faucet handle can be both irritating and costly if not addressed promptly. A constant drip not only wastes water but can also add to your utility bills over time. Identifying the root cause of the leak is essential for a quick fix, and in most cases, it’s a task that homeowners can undertake themselves.
This introduction aims to guide you through understanding potential causes and the necessary steps to rectify a leaky kitchen faucet, ensuring you can restore your faucet to optimal functionality with minimal fuss and expense.
Identifying The Faucet Handle Leak
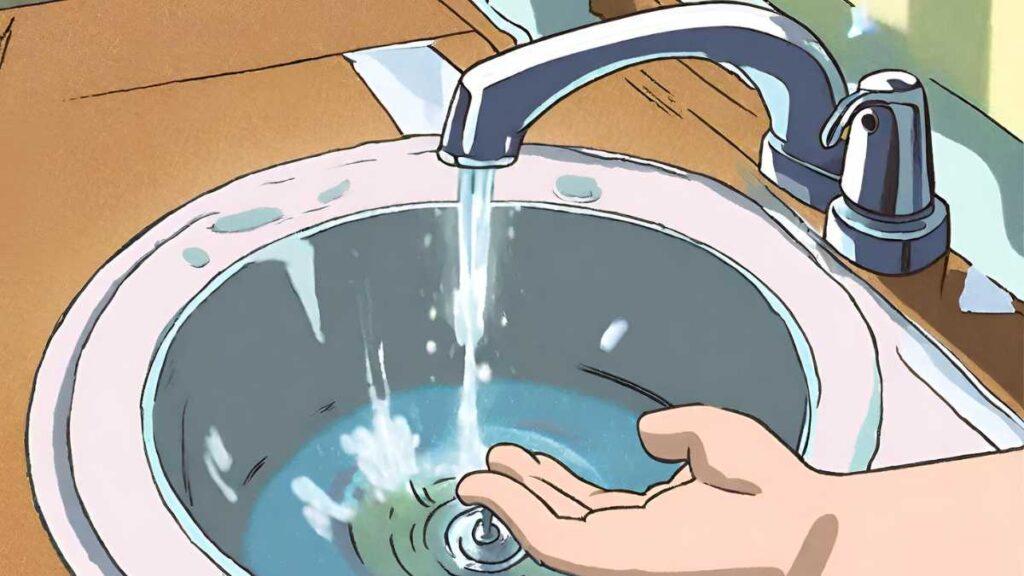
If a puddle of water at the base of your kitchen faucet accompanies your dishwashing routine, you may have a faucet handle leak on your hands. This common kitchen woe can range from a minor annoyance to a significant water-wasting issue if left unattended. Fear not, as identifying the source of the leak is typically a straightforward process. Recognizing the signs and systematically inspecting the faucet will enable you to get to the root of the problem—let’s dive into how you can fish out and fix that pesky leak.
Observation And Inspection
The first step in tackling a leak is thorough observation. Examining the faucet while it’s in use can provide valuable clues. Does the leak only occur when the faucet is turned on, or does it persist even when the water flow is off? Take note of any dripping, water trails, or corrosion that indicates constant exposure to moisture.
Signs Of Handle Leakage
Identifying the precise signs of a leak can direct you to the underlying cause. Be on the lookout for:
- Water seeping from around the faucet handle: This points to a potential issue with the O-ring or cartridge.
- Wet spots on the counter: Continuous leakage can lead to water stains or pools on the countertop.
- Visible rust or mineral deposits: These often occur around the base of the handle where water collects.
Checking For Underlying Issues
To uncover the root cause of the leakage, it’s important to check for underlying issues that may require attention:
| Area of Inspection | Potential Issue | Next Steps |
|---|---|---|
| O-ring and Seals | Wear and tear or degradation | Replacement of worn-out parts |
| Cartridge | Damage or improper fit | Correct installation or cartridge replacement |
| Supply Lines | Loose connections or deterioration | Tightening connections or replacing lines |
Disassembling the faucet may be necessary to closely inspect internal components. Nonetheless, always shut off the water supply before attempting repairs to prevent flooding and further damage.
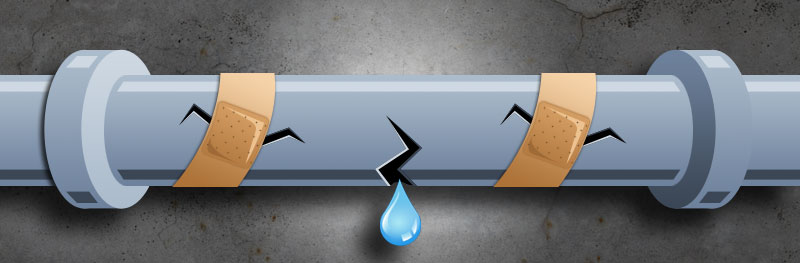
Understanding Common Causes
A dripping kitchen faucet is more than a minor inconvenience; it’s an omen that something inside that sleek spout isn’t quite right. A closer inspection usually reveals the likeliest suspects: the small but mighty components that control the flow and temperature of your water. Let’s diagnose the silent saboteurs behind a leaking kitchen faucet handle. Worn Out Gaskets and O-rings
Worn Out Gaskets And O-rings
Gaskets and O-rings ensure a tight seal in faucet mechanisms. Over time, these parts endure wear and tear from frequent use and exposure to water. This deterioration compromises their integrity, leading to leaks around the handle. Visual Indications
Visual Indications
Spotting the problem early can save you time and money. Inspect your faucet for any cracks or brittleness on gaskets and O-rings. These visual cues can be the telltale signs that replacements are necessary. Impact on Leakage
Impact On Leakage
Persistent water exposure and the inevitable build-up of mineral deposits can accelerate the degradation of these components. Once they begin to fail, you’ll notice leakage that can escalate from an occasional drip to a steady stream if not addressed promptly. Loose or Damaged Cartridge
Loose Or Damaged Cartridge
The cartridge functions as the faucet’s control center. A loose or damaged cartridge can lead to leakage. It’s often because of internal damage or a failure to maintain a secure position within the faucet assembly. Symptoms and Effects
Symptoms And Effects
- Water dripping from the handle
- Difficulty in adjusting water temperature
- Unexpected changes in water pressure
These symptoms indicate a need for immediate attention to prevent further damage to the faucet and surrounding areas. Potential Repair Solutions
Potential Repair Solutions
- Replace worn-out gaskets and O-rings.
- Tighten or replace the faucet cartridge.
- Check for additional worn-out parts and replace as needed.
With the right tools and a bit of know-how, these fixes can often be DIY projects. For more complex cases, a professional plumber may ensure that the repair is thorough and durable.
Quick Repair Solutions
Quick Repair Solutions for a leaking kitchen faucet handle can be both frustrating and concerning. Yet, many homeowners can tackle this common issue without the need for a professional plumber. Often, the fix involves tightening loose parts, replacing worn seals, or both. Read on to discover straightforward steps that can help restore your faucet to its leak-free state in no time.
Tightening Loose Parts
A common cause of leaks around faucet handles is loose components. Over time, repeated use can cause nuts and screws to loosen. Identifying and tightening these parts often eliminates the leak.
Proper Tools And Techniques
Before diving into the repair, ensure you have the right tools on hand. A basic wrench, screwdriver, and plumber’s tape are essential. Using the correct techniques to tighten components will prevent damage to the faucet and create a secure fit.
Steps To Follow
- Turn off the water supply to the faucet to prevent any accidental spills.
- Remove the handle cap to expose the interior parts.
- Identify any loose elements that may need tightening.
- Carefully tighten nuts and screws, making sure not to strip them.
Replacing Seals And O-rings
If tightening doesn’t do the trick, the problem might be with worn-out seals or O-rings. These components create a watertight seal but can degrade over time.
- Purchase the correct size of seals and O-rings for your faucet model.
- Disassemble the handle to access and replace these components.
Determining Replacement Needs
During your inspection, if you find components that are damaged beyond simple repairs, it’s essential to source proper replacements. Consider taking the old parts to a hardware store to ensure a perfect match.
Step-by-step Installation Process
Installing new seals and O-rings may sound daunting, but with a clear process, it’s manageable. After disassembly, replace the old components, being mindful to position them correctly to ensure a good seal.
- Clean all relevant parts before installing new components.
- Place the new seals or O-rings in the designated grooves.
- Reassemble the handle and test for leaks.
Credit: www.plumbingsupply.com
Maintenance And Care Tips
Ensuring your kitchen faucet remains in top condition is a blend of routine maintenance and prompt response to the first signs of trouble. A dripping handle might seem like a minor annoyance, yet it can signal the need for immediate attention. Regular upkeep not only extends the lifespan of your faucet but also prevents the wastage of water, thereby saving you from potentially costly repairs or replacements. Below are essential care tips that can help keep your kitchen faucet operating smoothly.
Regular Cleaning And Lubrication
Kitchen faucets should undergo routine cleaning to remove mineral deposits, grime, and other substances that can build up over time. Lubrication is also crucial to ensure moving parts operate with ease, helping to prevent stiffness and wear.
- Disassemble the handle carefully.
- Clean individual components with a soft cloth.
- Apply a silicone-based lubricant to moving parts.
- Reassemble once all the parts are dry.
Importance Of Faucet Longevity
Maintaining your faucet can significantly prolong its lifetime. A well-cared-for faucet can outlast its expected lifespan, avoiding premature replacement costs. Consistent care helps parts move freely, reduces strain on connections, and maintains a proper seal to prevent leaks.
Recommended Cleaning Agents
Not all cleaning agents are suitable for kitchen faucets. Use non-abrasive cleaners to preserve the finish. Here’s a list of approved cleaning agents:
- White vinegar for mineral deposits.
- Mild dish soap for daily cleansing.
- Baking soda for tough grime.
Periodic Inspection And Assessment
Conduct periodic inspections to assess your faucet’s condition. Look for signs of wear on the O-rings, seals, and washers. An annual assessment can help you catch issues early, contributing to the longevity of your fixture.
Proactive Leak Prevention
Be proactive in preventing leaks by keeping an eye out for drips or irregularities in water flow. Tighten connections and replace worn-out parts as needed to maintain an effective seal.
Early Detection Of Potential Issues
Early detection is key in warding off major kitchen faucet issues. Respond quickly to noises, reduced water pressure, or any changes in operation. These symptoms can indicate a need for maintenance or the replacement of specific parts.
Seeking Professional Help
A persistent leak in your kitchen faucet handle can quickly escalate from a minor inconvenience to a major problem, resulting in water waste and potential damage to your home’s infrastructure. Seeking professional help is often the smartest move to ensure a lasting solution. This guide will delve into the signs that indicate the need for expert intervention and the advantages that come with hiring a seasoned plumber.
Knowing When To Call A Professional
Sometimes, a leaky faucet is more than just a simple DIY fix. If you’ve replaced washers, O-rings, or tightened connections and the leak persists, it could be a symptom of a more complex issue. Professional plumbers have the diagnostic tools and expertise to identify underlying problems that aren’t immediately visible, saving you time and preventing exacerbation of the issue.
Red Flags To Watch For
- Water Pressure Issues: If changes in water pressure accompany the leak, it may indicate a broken faucet handle or malfunction in the water line.
- Visible Corrosion: Rust or green patina on the faucet or pipes could suggest decay that’s best addressed by a pro.
- Strange Noises: Gurgling or screeching sounds may be signs of a more severe plumbing condition.
Benefits Of Professional Intervention
- Expert Diagnosis: Plumbers can swiftly pinpoint and address the root cause of a leak.
- Guaranteed Repairs: Certified work often comes with a warranty, offering peace of mind long after the job is done.
- Preventative Advice: Professionals can provide insights on maintenance practices to avoid future leaks.
Choosing The Right Plumbing Service
Select a licensed plumber with positive reviews and transparent pricing. Check for a track record of reliability and a range of services that cover your specific needs.
Factors To Consider
| Factor | Details to Evaluate |
|---|---|
| Credentials | Ensure the plumber is licensed and insured. |
| Experience | Look for a plumber with experience in kitchen faucet repairs. |
| Cost | Request upfront pricing to avoid hidden fees. |
| Reputation | Read reviews from previous clients to gauge satisfaction. |
Ensuring Quality Workmanship And Warranty
High-quality repairs not only resolve current issues but also preempt potential problems. Opt for plumbing services that offer a workmanship guarantee and a warranty on parts. This ensures that if a leak reoccurs, you won’t face additional expenses or the hassle of repeated fixes.
Frequently Asked Questions On Kitchen Faucet Handle Leaking
Why Is My Kitchen Faucet Handle Leaking?
How Do I Fix A Leaking Faucet Handle?
Can A Plumber Repair A Leaky Faucet Handle?
What Tools Are Needed To Fix A Faucet Leak?
Conclusion
Dealing with a leaky kitchen faucet handle can be a hassle, but prompt attention saves water and money. Follow our guide to tackle this common household issue efficiently. Remember, proper maintenance and quick fixes will ensure your faucet remains in top condition.
Keep your kitchen functional and your mind at ease by addressing leaks as soon they appear. Seek professional help if the problem persists or if DIY solutions don’t cut it.
More kitchen Faucets recommendations
- Top 10 The Best Luxury Kitchen Faucets for Every Budget
- What Is the Highest GPM Kitchen Faucet? Meet the Moen Arbor
- Best Gold Kitchen Faucets of 2023: Top 5 Picks for a Luxurious Look
- Waypoint Cabinets vs KraftMaid: Which is the Better Choice?
- American Woodmark Cabinets: Real Customer Reviews
- Midea Appliances Reviews: What Customers Are Saying
- The Best High-End Kitchen Faucets for Every Budget
- Allen and Roth Kitchen Faucet With LED Light:
- How to install a Moen Kitchen Faucet With Sprayer
- How to Install a Kohler Kitchen Faucet: A DIY Tutorial


