We may earn money or products from the companies mentioned in this post.
Need RV kitchen faucet replacement parts? Look no further! We have a wide selection of parts to choose from, including cartridges, spout nuts, washers, and more. Shop now and get your faucet back in working order quickly and easily.
Your kitchen faucet is dripping everywhere as you wake up this morning, just when you are about to go on your weekend road trip in your RV. Being unable to wash dishes or obtain a glass of water quickly spoils a camping experience. However, don’t worry—we’ve got you covered. We have all of the most popular replacement parts for RV kitchen faucets, so you can repair your faucet and resume enjoying your vacation. You just need to locate the component you need, put it in, and you’ll be cleaning up in no time. No special equipment or abilities are needed. We have all the parts you need to fix your leaking faucet, from cartridges to spouts to washers and everything in between. Buy today to avoid missing your weekend!
Introduction to RV Kitchen Faucet Parts

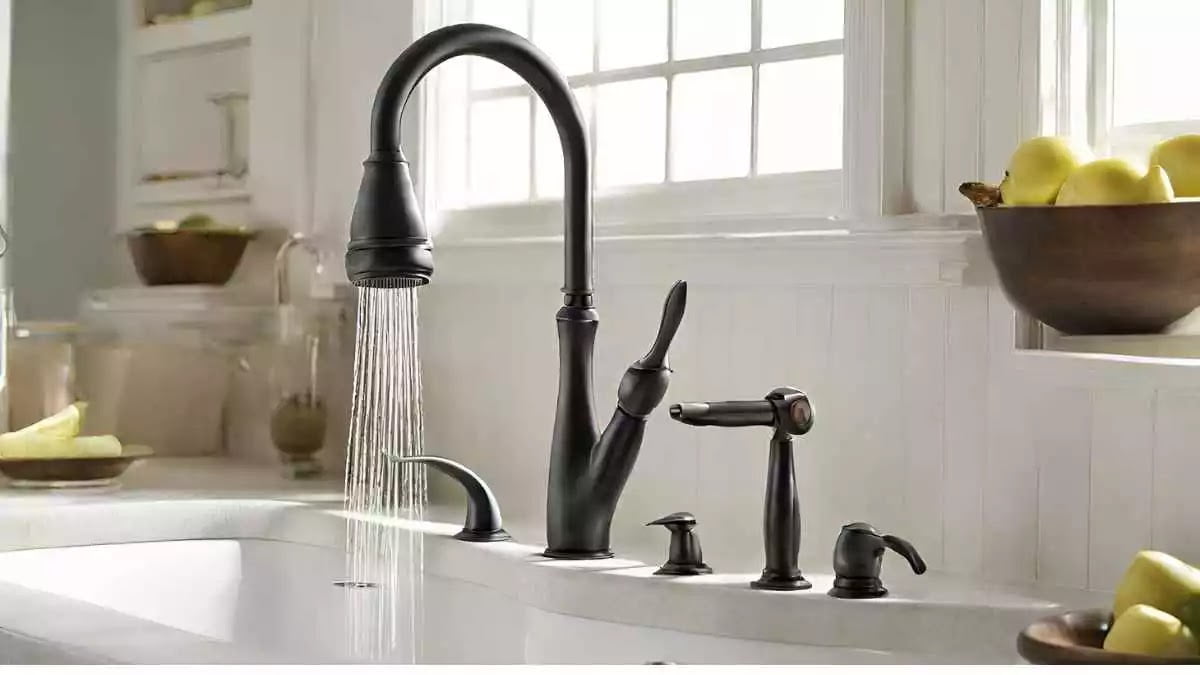
Cradit: Amazon.com
It seems like the kitchen faucet in your RV isn’t operating properly and you need to obtain new components. Don’t worry; we’ve got everything you need in one place to restore your faucet’s free flow.
To begin with, you should identify the precise components in your faucet that have failed or are failing. Cartridges, spout nuts, washers, sprayer hoses, and pull-out spouts are the most often replaced parts.
The mixing and flow of hot and cold water are managed using cartridges. Replace the cartridge in your faucet if it is leaking or not dispensing water correctly. The faucet base and spout are joined by spout nuts. Replacing your spout nut can solve any loose or disconnected spout issues. Water flow is sealed by washers. It’s definitely time for replacement washers if you notice drips or leaks at the handle or spout’s base.
Pull-out spouts and sprayer hoses enable extending the spout or utilizing a sprayer. It’s time to repair your sprayer hose or spout if it’s damaged, leaking, or not retracting.
After you’ve decided on the components you need, locate the model number of your faucet and search our listings for the precise replacement parts that fit your make and model. We have components for every well-known RV faucet manufacturer, including Pfister, Moen, Delta, and Kohler.
You’ll be cleaning dishes and using the RV kitchen sink for personal hygiene in no time at all if you get the necessary components and replace them according to the directions that come with the package. A plumber is not needed! The secret to successful RVing is being self-sufficient while traveling. We are here to assist you in achieving that.
Common Problems Requiring Faucet Part Replacement

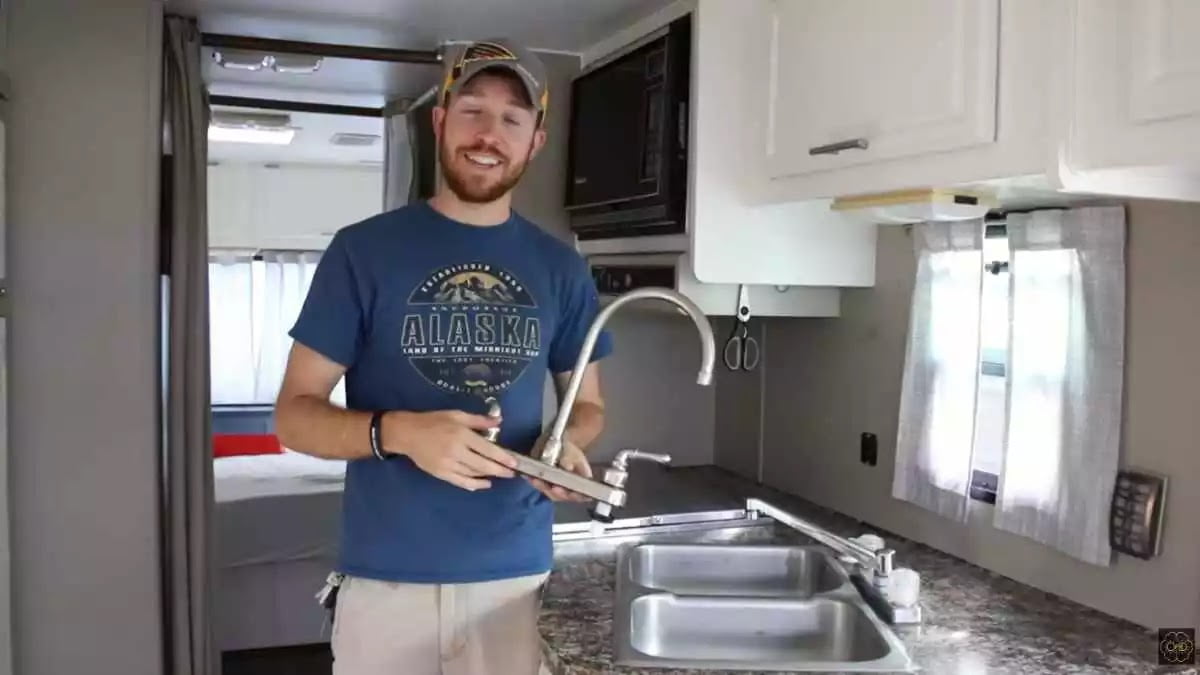
Cradit: orangecoastplumbing.net
If your RV kitchen faucet is leaking, dripping, or just not functioning properly, chances are you need to replace a worn-out or damaged internal part. The two most likely culprits are the cartridge and the washers or O-rings.
Cartridge Issues
The cartridge is the main operating mechanism of your faucet that controls water flow and temperature. If your faucet is leaking from the base, won’t turn on, or the water temperature seems off, the cartridge probably needs replacing. Cartridges typically need to be swapped out every 3-5 years depending on water quality and usage.
Washers and O-Rings
Washers and O-rings create seals inside your faucet to prevent leaks. Over time, these rubber parts can break down, warp, or become brittle, allowing water to seep through. If you notice dripping from the spout or sprayer, the washers or O-rings are the first parts you should check. Replacing worn-out washers and O-rings is an easy, inexpensive fix that often solves the problem.
Other parts like spout nuts, sprayer hoses, valves, and diverters can also eventually require replacement. The key is determining which specific part has failed or is malfunctioning based on the symptoms, and then obtaining the proper replacement part for your faucet model. With some basic tools and DIY skills, you can have your RV kitchen faucet back in working order in no time by replacing the necessary internal components. Isn’t that refreshing?
Cartridge Replacement – The Heart of Your Faucet

The cartridge is the heart of your RV kitchen faucet. When it starts malfunctioning, you’ll notice reduced water flow, leaks, or the faucet not turning on at all. Replacing the cartridge is often an easy DIY fix to get your faucet working properly again.
Finding Your Cartridge
Choosing the right cartridge is the first step. Verify the model number of your faucet; it ought to be indicated on the handle, base, or packing. Next, do an internet search using phrases such as “Danze Opulence cartridge part number D404358” or “cartridge for Moen Chateau kitchen faucet model 7560.” Compare images to find the appropriate replacement. It’s simple to locate the right cartridges for popular RV faucet manufacturers like Moen, Delta, Pfister, and Danze on their websites or at large shops like Lowe’s and Home Depot.
Before beginning the replacement once you’ve identified the correct cartridge, cut off the water supply to your faucet. Keep pliers, towels, and a screwdriver close at hand. Take off any retention rings or clips that are keeping the cartridge in place. Take out the old cartridge; it may need to be entirely removed with some wiggle. Use a toothbrush to clean the inside of the faucet before replacing the cartridge to get rid of any accumulated silt.
Make sure the new cartridge is installed and facing the right way. After repositioning any holding clips to keep them in place, gradually reactivate the water. As soon as you turn on the faucet, look for leaks. You’re done if everything seems to be in order! Now your faucet ought to function like a brand-new one. Need more assistance? A lot of faucet manufacturers provide step-by-step instructions for replacing the cartridge via their websites’ video tutorials.
Replacing your RV kitchen faucet cartridge can quickly restore free flow to your faucet with the correct item in hand and a little do-it-yourself attitude. There’s no need to hire a plumber to address this simple issue. Cheers to camping and repairing faucets!
Spout Nuts – Securing Your Faucet’s Spout
Water flows into your sink from your RV kitchen faucet’s spout. You must use the appropriate spout nut to keep your spout firmly in place and stop leaks. Spout nuts, which are affixed to the base of the spout to secure it in place, are sometimes referred to as retaining rings or nuts.
The likelihood is that the spout nut has come loose or is broken if your spout is shaky or leaking at the base. To restore your faucet to functioning order, replacing it is a simple remedy. A good idea before beginning this repair is to shut off the water supply to your faucet. Locate the spout nut by looking below your sink. Where the spout and faucet base meet will be the location of it.
Spout nuts may be turned counterclockwise using pliers or wrenches. If any washers or O-rings remain, remove them. If you need a precise replacement, bring the spout nut with you to the hardware shop. A 3/8-inch inner diameter spout nut is required for the majority of common RV faucets. Measuring yours is the best way to be certain, however.
:
Slide the replacement spout nut over the spout base and hand-tighten after obtaining it. Then, being cautious not to overtighten, use pliers to tighten it securely in place. After you have turned the water back on, look for leaks. If necessary, tighten the spout nut again.
Right now, your spout ought to be waterproof and firmly secured. Spout nuts are a cheap item that go a long way toward keeping your RV dry and free of pricey water damage. If anything goes wrong with your faucet while you’re traveling, having a few standard replacement parts on hand, including as washers, cartridges, and spout nuts, may help you fix it fast. You may resume enjoying your RV excursions after the appropriate spout nut is inserted!
Washers & O-Rings – Sealing Water Tight

In order to keep links tight and stop leaks in your RV’s kitchen tap, you need washers and O-rings. These seals wear out over time and with use because they come into close touch with water. A simple fix that can get your leaky faucet running again quickly is to replace the worn-out or broken screws and O-rings.
First, look at the model of your tap to figure out what size and type of nuts or O-rings you need. You can find a list of the washer and seal sizes that work with most RV faucet brands, like Camco, Strom Plumbing, and Dometic, in the product instructions or on their website. If you take the make, model, and serial number of your tap to an RV parts shop, they should be able to find the right replacements.
As soon as you have the right washers and O-rings, turn off the water to your RV and unhook the lines that lead to the outlet. Follow the steps that come with your faucet to take it apart and get to the inside parts. You might have to take out cartridges, holding clips, or spout nuts to get to the old seals.
:
Needle nose tools are used to take off the worn-out screws and O-rings. To make sure the new seals fit well, clean the places where they will go. After putting the new screws or O-rings in the right places, follow the steps to put your faucet back together again. Slowly turn on the water again and look for leaks. Check your tap to make sure the water is flowing again and there are no more drips.
Putting in the right nuts and O-rings should fix your broken RV kitchen faucet and make it work like new. When it’s freezing outside or when you’re not going to be using your RV for a long time, make sure to turn off the water and drain the sink. Small parts like these seals should be replaced on a regular basis. This is an easy and cheap way to keep your RV plumbing in good shape for years to come.
Handles & Knobs – Style and Function
The handles and knobs on your RV kitchen faucet not only control the water flow but also contribute to the overall style. When these parts start to show signs of wear or break down completely, replacement is necessary to restore full function.
You have options when it comes to selecting new handles and knobs. Consider which style complements your RV’s decor – chrome and brushed nickel are popular, durable choices. Lever-style handles are a classic style, while tab handles have an industrial look. Knob handles work well in tight spaces. Think about the finish and how it will pair with your existing hardware and fixtures.
For the most part, replacing handles and knobs is an easy DIY project. Start by turning off the water supply to your faucet. The specific steps to remove your current handles will depend on the faucet model, but typically involve unscrewing a set screw or retaining clip. Have a towel handy to catch any remaining water in the supply lines.
:
Clean the faucet base to remove any buildup. Check that the valve stems or cartridges are still in good working order – if not, you may need additional replacement parts.
Install the new hot and cold handles, ensuring the correct handle is on the proper side. Tighten any set screws and turn the water back on to test. Make any final adjustments to the handles to ensure they are straight and secure.
Turn on the hot and cold taps to flush out any debris before using the faucet. Your handles and knobs are now successfully replaced and ready to serve you well for many road trips to come!
Additional parts you may need include:
- Set screws – to secure the new handles to the valve stems
- Retaining clips or retaining rings – hold some handles in place
- Valve stem extensions – if your new handles are longer than the originals
- Complete cartridge replacements – if your faucet cartridges are damaged or leaking
- Trim rings – for a finished look, cover the base where the old handles attached
- Escutcheons – decorative plates that fit around the base of the handles
Spray Heads & Hoses – The Finishing Touch
The spray head and hose on your RV kitchen faucet direct and control the flow of water. Over time, these parts can wear out or break, affecting water pressure or causing leaks. If your faucet’s sprayer isn’t working well or you need to replace damaged parts, it’s usually an easy fix.
Spray Heads
The spray head, also known as an aerator, is the part at the end of the sprayer hose that disperses water. Mineral buildup, scratches, or cracks in the spray head can reduce water flow or cause dripping. Replacing a worn or damaged spray head is a simple repair that typically takes just minutes. You’ll need to purchase a spray head that matches your specific faucet model.
Sprayer Hoses
The hose that connects the spray head to your faucet is called the sprayer hose or faucet hose. Kinks, tears, or leaks in the hose will need to be repaired or replaced. Replacing an RV kitchen faucet hose involves disconnecting the old hose, removing any remaining pieces left in the faucet or spray head, and connecting a new hose of the proper length and fitting type. Make sure to turn off the water supply and release any pressure before starting.
To replace your spray head or hose:
- Turn off the water supply to your RV and open the faucet to release any built-up pressure.
- Disconnect the hose from the faucet sprayer outlet, typically by unscrewing a retaining nut or clip. Remove any remaining hose pieces.
- Attach the new spray head to the end of the new hose according to the instructions in the product packaging.
- Connect the new hose to your faucet, hand-tightening to prevent leaks.
- Turn the water back on and check for any leaks before using as normal. Tighten any connections as needed.
Replacing small parts like the spray head and hose can extend the life of your RV kitchen faucet and have it working like new again. With the right parts and a few basic tools, you’ll be back to smooth operation in no time. Shop our wide selection of spray heads, hoses, and other faucet repair parts to find replacements for your specific RV model.
Specialty Tools for Faucet Repairs
To tackle faucet repairs yourself, a few specialty tools will make the job much easier. Some you may already have, others are good to keep on hand for future plumbing projects.
Basin wrench
This U-shaped wrench is designed specifically for tightening and loosening nuts in awkward, cramped spaces like under sinks. It’s a must-have for removing the retaining nut that secures the faucet base to the sink. An adjustable wrench can work in a pinch, but a basin wrench will save you time and frustration.
Cartridge puller
If you need to replace the cartridge in a faucet, a cartridge puller tool helps extract it easily. Cartridges can become stuck over time, and this tool grips onto what’s left of the cartridge to yank it out. Some faucet brands like Moen include a puller tool that works specifically for their cartridges. A generic puller should also do the trick.
Plumber’s putty
To create a watertight seal when installing a new faucet, a plumber’s putty is essential. Roll the putty into “ropes” and place it around the base of the faucet before securing it to the sink. The putty will harden, filling in any small gaps. Be sure to wipe away any excess putty that squeezes out.
Adjustable pliers
A pair of adjustable pliers, also known as channel locks or tongue and groove pliers, are useful for grabbing and turning stuck or broken mounting nuts, cartridges, retaining clips, or other faucet parts. They provide extra leverage and grip.
With the right tools and patience, you can handle RV kitchen faucet repairs and replacements yourself. But if at any point you feel overwhelmed or confused, don’t hesitate to call in a professional plumber to finish the job. Your plumbing and peace of mind will thank you!
Conclusion
All the necessary items to repair your RV kitchen faucet are now in your possession. You will definitely discover the precise replacement component you need to finish the repair since there are so many available. Why put up with the inconvenience of a dripping or broken faucet any longer? Examine your selections, make your purchase, and be ready to relive the pleasure of an RV kitchen faucet that works properly. It won’t take long for you to cook, clean, and enjoy your RV. Why don’t you act sooner? Buy today, and have a safe and enjoyable journey!
More kitchen Faucets recommendations
- Top 10 The Best Luxury Kitchen Faucets for Every Budget
- What Is the Highest GPM Kitchen Faucet? Meet the Moen Arbor
- Best Gold Kitchen Faucets of 2023: Top 5 Picks for a Luxurious Look
- Waypoint Cabinets vs KraftMaid: Which is the Better Choice?
- American Woodmark Cabinets: Real Customer Reviews
- Midea Appliances Reviews: What Customers Are Saying
- The Best High-End Kitchen Faucets for Every Budget
- Allen and Roth Kitchen Faucet With LED Light:
- How to install a Moen Kitchen Faucet With Sprayer
- How to Install a Kohler Kitchen Faucet: A DIY Tutorial