We may earn money or products from the companies mentioned in this post.
You’ve purchased a new kitchen faucet and are ready to install it. While it may seem like a straightforward task, there are a few tips and tricks to keep in mind to ensure it’s done properly. We’ll walk you through the entire process step-by-step, from turning off the water supply to tightening everything up. We’ll also discuss some of the common mistakes people make when installing kitchen faucets and how to avoid them. So whether you’re a beginner or a seasoned pro, read on to learn how to install your new kitchen faucet!
Prepare for Installation: Gather Tools and Shut Off the Water Supply
Now that you have your shiny new faucet and tools in hand, it’s time to install it. But first, you need to shut off the water supply to avoid flooding your kitchen! Locate the shutoff valves under or near the sink and turn them clockwise to cut off the water.
Prepare the Sink Area
Before removing your old faucet, clear the area underneath the sink of any items that may be in your way. Have towels, a bucket, a plumber’s putty, pipe tape, and your new faucet parts at the ready.
- Turn off the water heater to avoid scalding water
- Place a towel in the bottom of the sink to catch metal shavings
- Disconnect the hot and cold water lines from the old faucet
Remove the Old Faucet
This may involve unscrewing nuts and washers or cutting copper pipes. Be very careful not to damage your sink surface during the removal of the old faucet. Clean the area thoroughly when done.
Install the New Faucet
Most DIYers can handle this, but call a plumber if pipes need replacement or the job seems too complex.
- Apply plumber’s putty or caulk around the base of the new faucet according to directions
- Connect water lines to the correct hot/cold ports
- Hand-tighten the retaining nuts, then tighten them with pliers
- Turn the water back on slowly and check for drips or leaks before using the new faucet
With some patience and the proper precautions taken, installing a kitchen faucet yourself can be very doable and help you save money. But if at any point you feel overwhelmed, don’t hesitate to call in a professional plumber. Your kitchen will thank you!
Remove the Old Faucet: Take Apart Existing Fixture
To install your new faucet, first, you’ll need to remove the old one. This may seem daunting, but by taking your time and following the proper steps, you’ll have the new faucet in place in no time.
Remove the Old Faucet: Take Apart Existing Fixture
Start by turning off the water supply under the sink. Locate the hot and cold water shutoff valves and turn them clockwise to cut off the water flow. Open the faucet to drain any remaining water from the pipes.
Next, disconnect the supply lines from the faucet by unscrewing the coupling nuts that attach them. Have a bucket handy to catch any water that may drip from the lines.
Now you can unscrew the mounting nuts that secure the old faucet to the sink. These are usually located under the sink and will either be plastic or brass. Use a basin wrench or pliers to loosen and unscrew the nuts. Remove any remaining putty or plumber’s putty from around the base of the faucet.
Take out the old water lines as well. Measure and note the spacing between the water line holes in your sink—you’ll need this information for installing the new faucet lines.
Finally, thoroughly clean the area around the faucet holes to remove any debris before installing the new fixture. A clean work area will make the installation go more smoothly and prevent leaks.
With the old faucet removed, you’re ready to unpack your new faucet and prepare to install it. Carefully following the included instructions, take your time to connect the right parts, apply putty, and hand-tighten the nuts. Once everything is aligned, you can turn the water back on and enjoy your handy work! By methodically disassembling the old faucet, you’ve set yourself up for success. Now wasn’t that easier than you thought?
Install the New Faucet: Mount it on the Sink and Connect the Water Lines
Now that you have the necessary tools and parts, it’s time to install your new faucet! This step involves mounting the faucet onto your sink, attaching the water supply lines, and turning the water back on to test for any leaks.
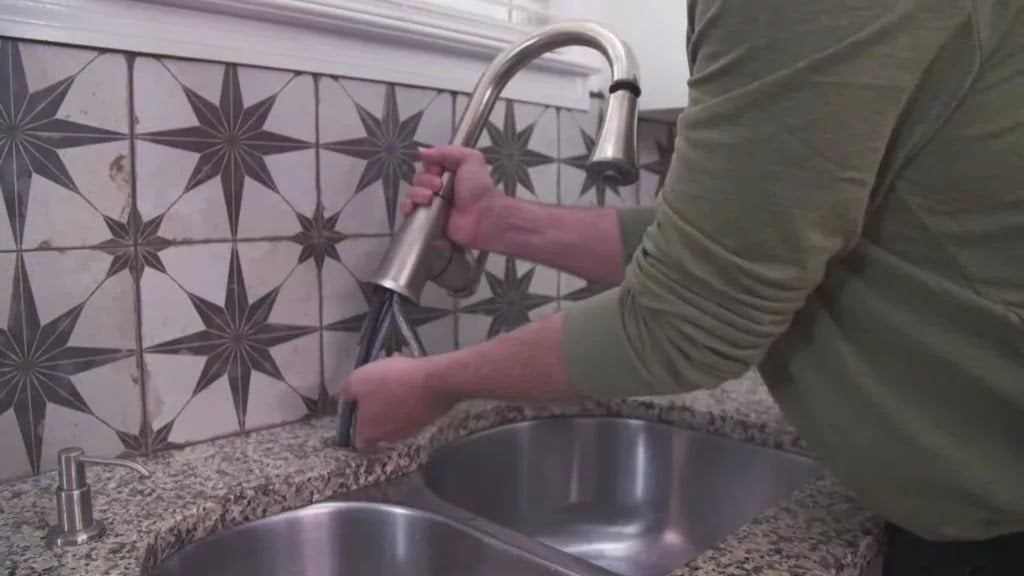
Mount the Faucet
First, place the plumber’s putty around the base of the faucet according to the directions in your faucet’s manual. Putty helps create a seal between the faucet and the sink. Then, feed the water supply lines and any additional parts (like a sprayer hose) through the hole in your sink. Hold the faucet in place while screwing on the mounting nuts to secure it. Wipe away any excess putty that squeezes out.
Connect the Water Supply Lines
Next, attach the hot and cold water supply lines to the appropriate hot and cold ports on your faucet. Use an adjustable wrench to tighten the connections. Be very careful not to overtighten, which can damage the faucet. Connect the other end of the supply lines to your home’s hot and cold water shut-off valves.
Turn the Water Back On
Turn the water back on slowly, and check for any drips or leaks at the connections. Tighten as needed. Run the hot and cold water for a few minutes to flush out any debris. Check again for leaks once the water has been running.
Common Mistakes
Two frequent mistakes people make are overtightening connections and not checking for leaks before leaving the work area. Overtightening and forgetting to check for drips can both lead to water damage over time. It’s also easy to get excited once the faucet is installed and forget this important final step! Go slowly, double-check your work, and make sure all connections are snug but not overtightened.
Following these steps carefully will ensure your kitchen faucet is installed properly and ready to use! Take your time, and don’t hesitate to refer to the instructions or call a plumber if needed. With some patience, you’ll be enjoying your new faucet in no time.
Common Mistakes to Avoid When Installing a Kitchen Faucet
When installing a new kitchen faucet, there are a few common mistakes to watch out for. Avoiding these pitfalls will ensure your faucet is installed properly and provides years of trouble-free use.
Not Checking for Compatibility
The most common mistake is not verifying that your new faucet will work with your existing sink and plumbing. Double-check that the number of holes in your sink matches the faucet style you chose. Also, ensure that the water supply lines will connect properly—if you have old plumbing, you may need adaptors to attach the new supply lines.
Incorrectly Positioning the Faucet
Take time to place the faucet in the ideal spot for looks and function. If it’s too far forward, it may splash onto the countertop or be difficult to use. Too far back, and it won’t have clearance to swivel freely. For most sinks, center the faucet or install it slightly forward. Refer to the instructions for exact measurements.
Not Installing Supply Lines Properly
The hot and cold water supply lines deliver water to your faucet. Connect them incorrectly, and your hot and cold water will be reversed! Double-check that the hot water supply line connects to the hot water inlet on the faucet and cold to cold. Hand-tighten the connections before fully tightening them to avoid cross-threading.
Not Checking for Leaks
Once installation is complete, turn the water back on slowly. Check each connection and joint in the supply lines and faucet for drips or leaks. Tighten as needed. Leaks left unaddressed can lead to water damage over time.
Not Testing the New Faucet
Turn on the hot and cold water to check that the water temperature and pressure are adequate and to your liking. Test any spray or pull-down functions to ensure everything is working properly before calling the installation complete.
By avoiding these common mistakes, your new kitchen faucet installation will go smoothly. Take your time, follow the instructions carefully, and soon you’ll be enjoying your updated kitchen sink! Let the dishwashing begin!
Finish the Job: Check for Leaks and Reattach Accessories
Now that your new faucet is installed, it’s time to finish up and test your work. Double-check that all connectors are tight and secured and that supply lines are hooked up properly and put the finishing touches on your project.
Turn the water supply back on and check for any leaks under the sink. If water is dripping or spraying from any of the connections, tighten them with an adjustable wrench or pliers. It’s best to find and fix leaks now before they become bigger problems down the road.
Once everything looks good, you can reattach any accessories like sprayers, soap dispensers, or water filters. Connect their supply lines and tighten them securely to the faucet or countertop. Test that all parts are working properly and are not leaking.
Turn on your new faucet to flush out any debris. Run the hot and cold water for at least 30 seconds each. This will remove any built-up sediment or manufacturing residue before first use. Check that the water temperature and pressure are to your liking. If anything seems off, it could indicate an issue with your water heater or pipes, which you’ll want to address.
Finally, turn the faucet off and wipe down the area under your sink and the new faucet itself to remove any dirt or water spots accumulated during installation. Put all tools and leftover parts away. Congratulations, your kitchen faucet installation is now complete!
With some patience and the proper precautions taken, installing a kitchen faucet yourself can be very rewarding. Avoiding common mistakes like overtightening connections, forgetting washers, or not testing for leaks will ensure your DIY plumbing project is a success. If at any point you feel overwhelmed or unsure of the next steps, don’t hesitate to call a professional for help. Your kitchen and wallet will thank you!
Conclusion
So there you have it: a step-by-step guide to installing your new kitchen faucet. Armed with the right tools, a little patience, and these instructions, you’ll have your shiny new faucet up and running in no time. Remember, take your time, and follow each step carefully. Double-check everything as you go to avoid leaks or drips. And don’t be afraid to turn the water back on and test your work before you put everything back under the sink. If all looks good, pat yourself on the back for a job well done. Your kitchen just got a whole new lease on life with a simple upgrade. Enjoy your new faucet and happy DIYing!
More kitchen Faucets recommendations
- Top 10 The Best Luxury Kitchen Faucets for Every Budget
- What Is the Highest GPM Kitchen Faucet? Meet the Moen Arbor
- Best Gold Kitchen Faucets of 2023: Top 5 Picks for a Luxurious Look
- Waypoint Cabinets vs KraftMaid: Which is the Better Choice?
- American Woodmark Cabinets: Real Customer Reviews
- Midea Appliances Reviews: What Customers Are Saying
- The Best High-End Kitchen Faucets for Every Budget
- Allen and Roth Kitchen Faucet With LED Light:
- How to install a Moen Kitchen Faucet With Sprayer
- How to Install a Kohler Kitchen Faucet: A DIY Tutorial