We may earn money or products from the companies mentioned in this post.
Fixing Kitchen Faucet Leaks At Handle often results from worn O-rings or faulty cartridge seals. Tightening the handle or replacing the damaged parts usually fixes the problem.
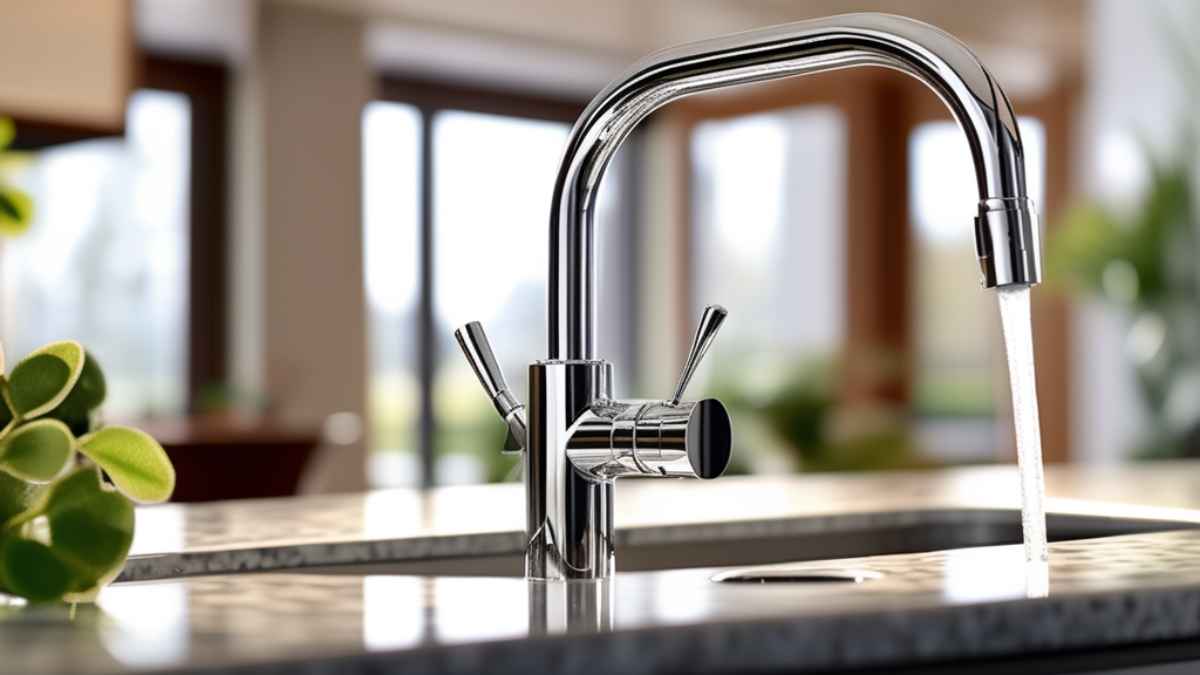
Dealing with a leaky kitchen faucet can be frustrating, especially when it disrupts your daily routine. The constant dripping is not just annoying; it can lead to water wastage and increased utility bills. Leaks at the handle typically indicate that the faucet’s internal components may have deteriorated over time.
Understanding the mechanics behind your kitchen faucet is crucial for an effective DIY fix. It’s important to identify the type of faucet you have, as this determines the probable cause and the solution to the issue. Regular maintenance and prompt repairs can extend the life of your faucet and prevent leaks, saving you time and money. By addressing the leak quickly, you can restore the functionality of your kitchen faucet and enjoy a leak-free sink.
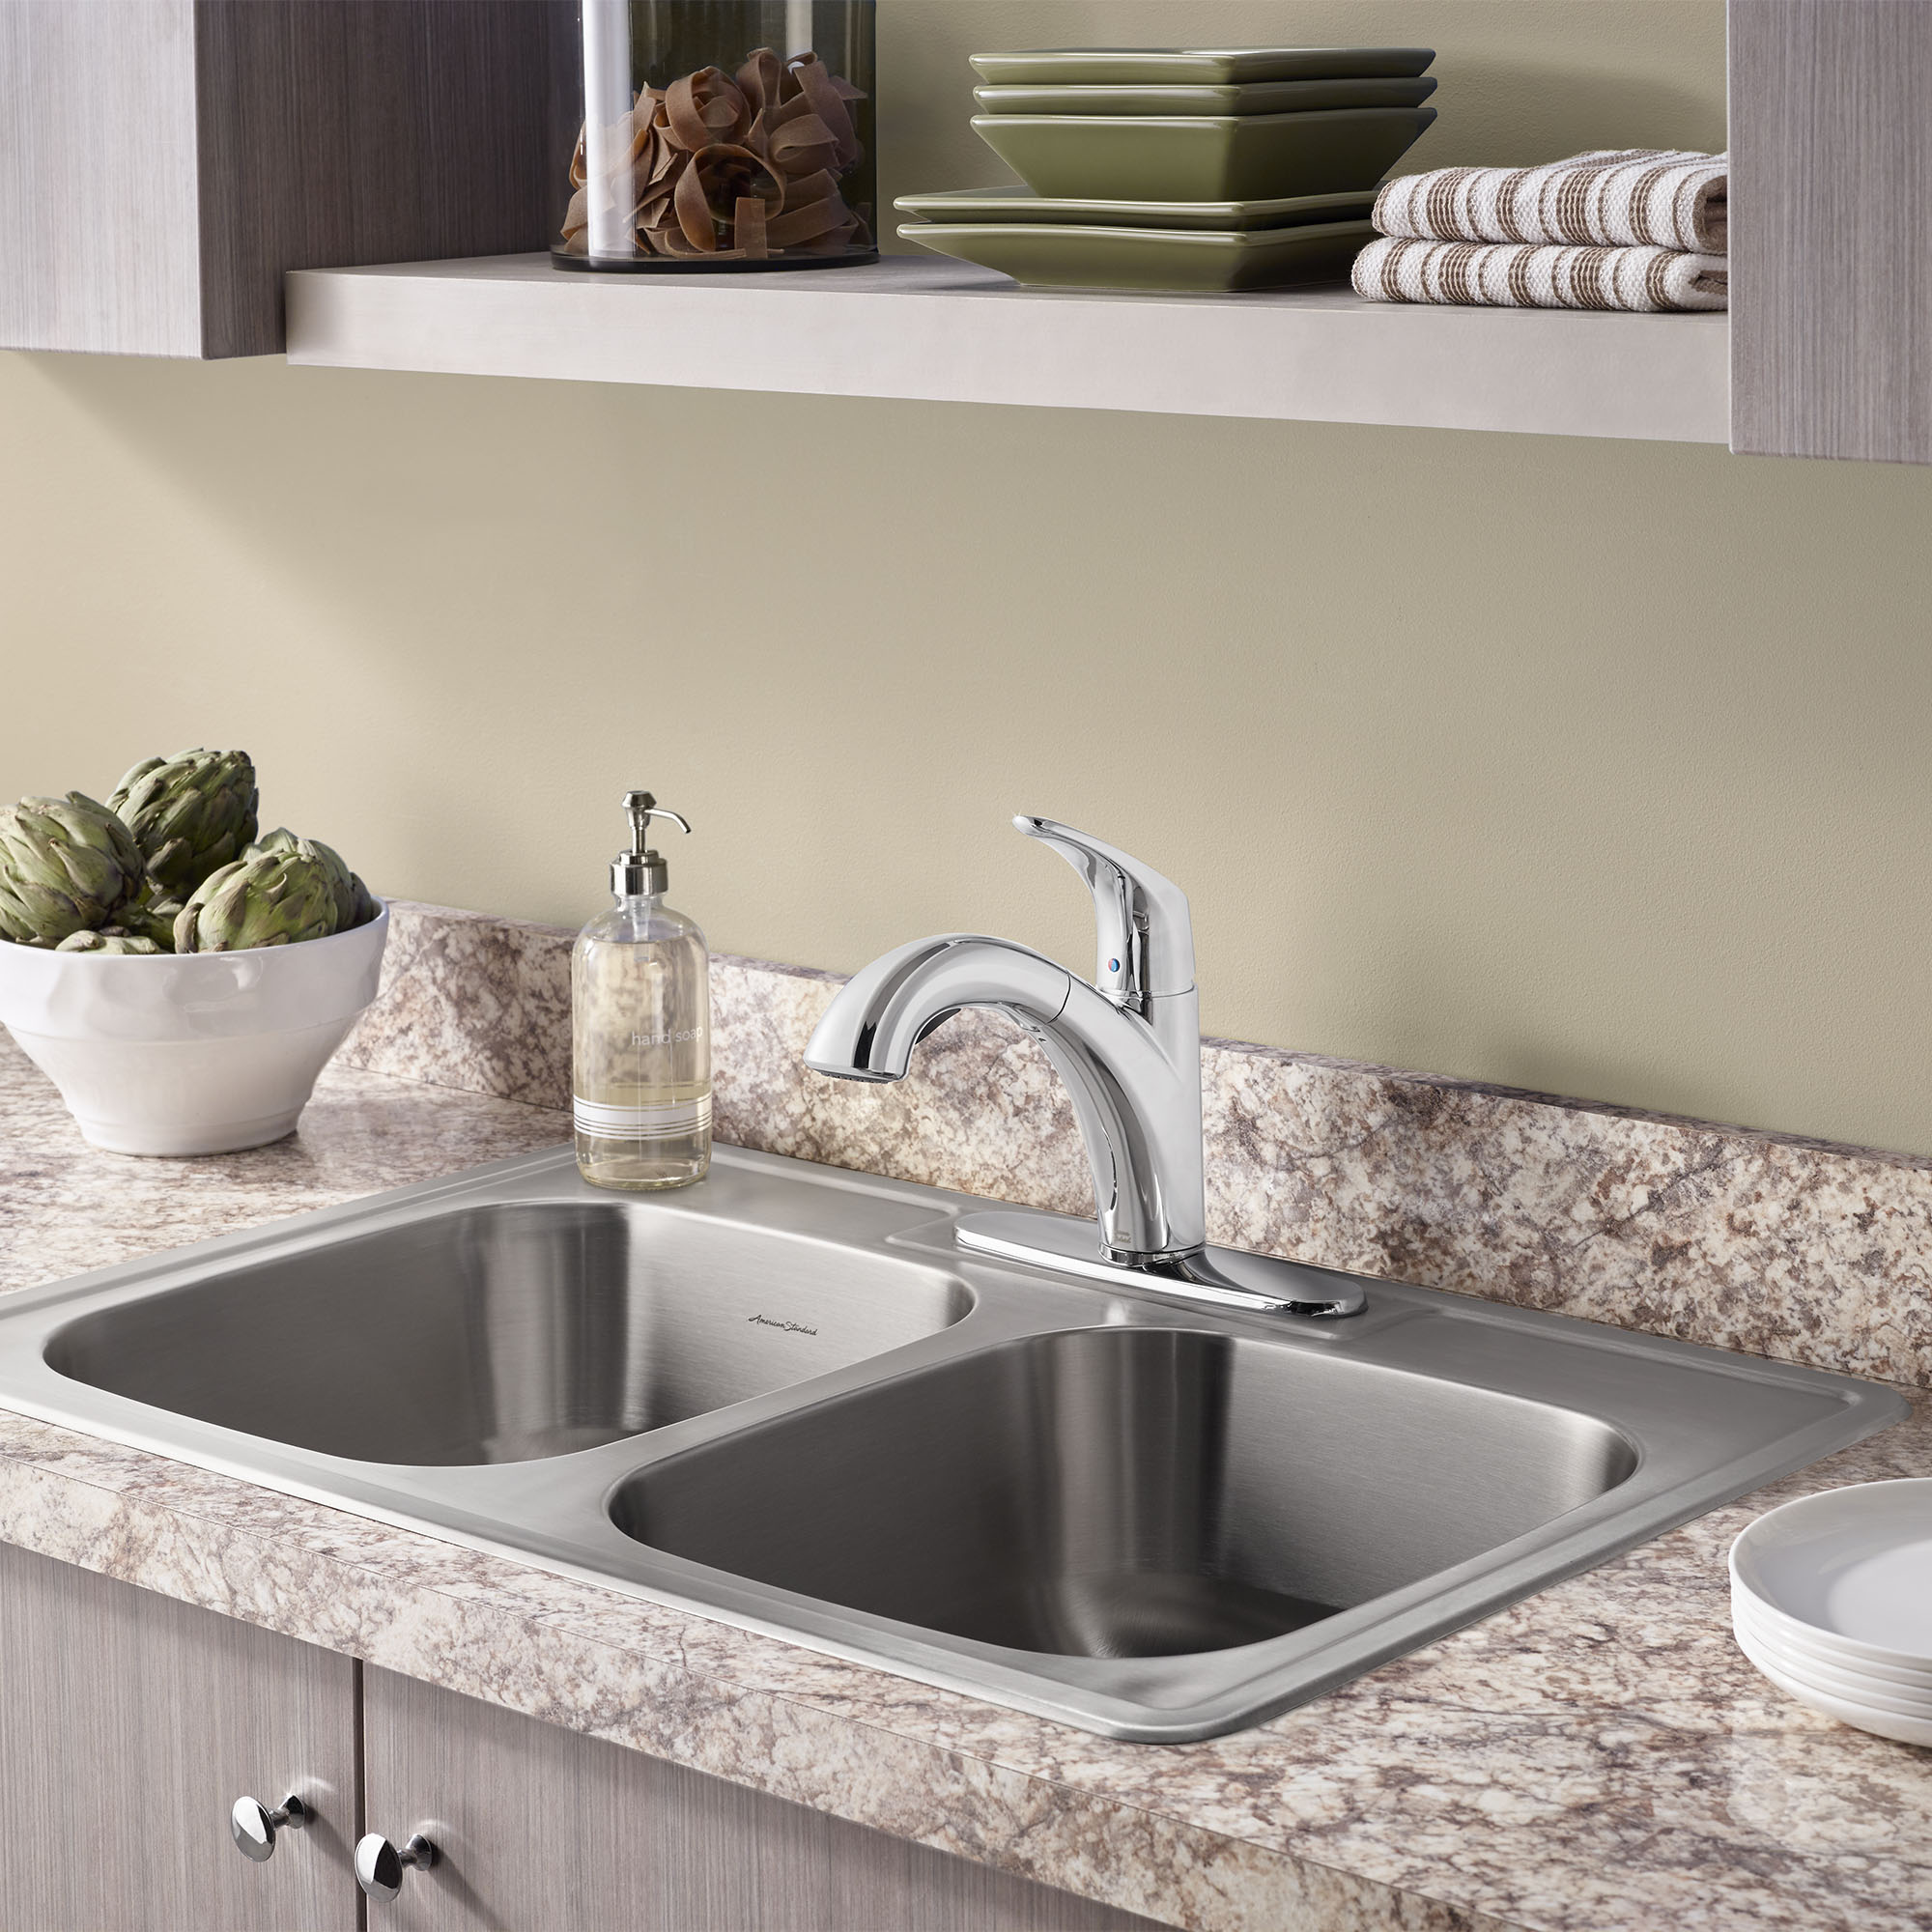
Credit: www.americanstandard.ca
Introduction
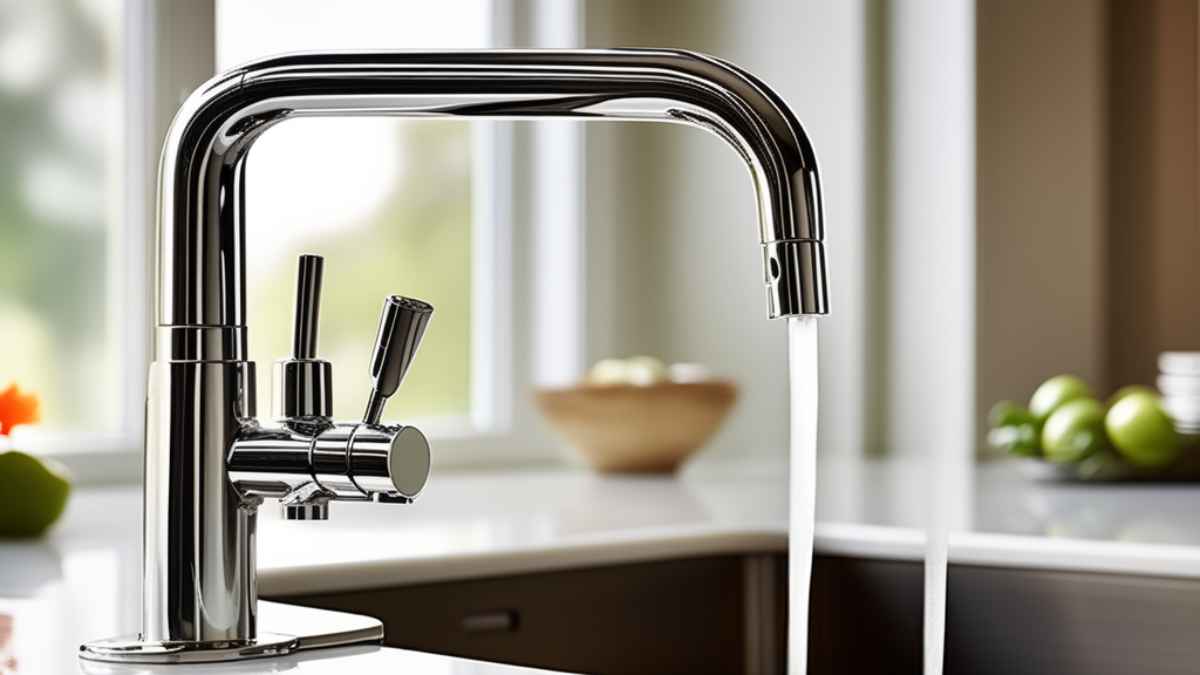
Discover the common causes of kitchen faucet leaks at the handle and straightforward solutions to fix them. Addressing this issue promptly can prevent water wastage and potential damage to your kitchen’s aesthetics and functionality.
Discovering a leak in your kitchen faucet can be a troubling sign, signaling potential damage and costly water waste. Tackling a faucet leak promptly can save you from an inflated water bill and prevent further plumbing distress. In this blog post, we’ll delve into the nuances of kitchen faucet leaks at the handle, exploring common causes and offering practical solutions to restore your faucet’s efficiency.
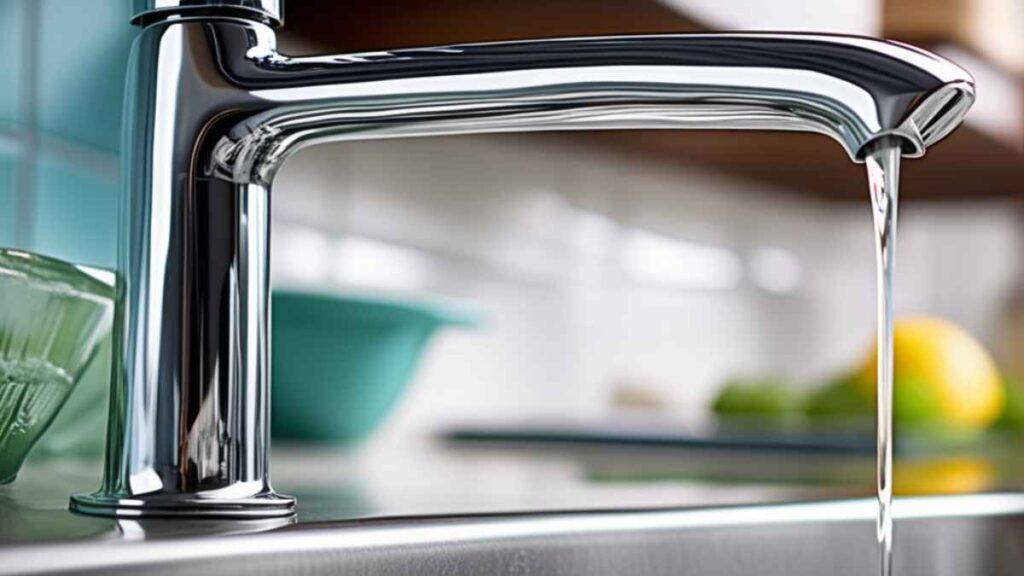
Common Causes Of Kitchen Faucet Leaks
The struggle with a dripping kitchen faucet often starts at its most used part: the handle. Several factors can be at fault:
- Worn O-rings: These small, disc-shaped pieces seal the area between the handle and the spout, and over time they can degrade.
- Loose parts: Continuous use might loosen the handle’s internal components, allowing water to seep through.
- Corroded valve seat: The connection between the faucet and the spout can corrode, leading to leaks.
- Improper installation: If the faucet wasn’t installed correctly, leaks could manifest near the handle.
Step-by-step Troubleshooting Guide
Before you call the plumber or decide to replace the faucet altogether, follow our troubleshooting guide:
- Identify the type of faucet: Is it compression, cartridge, ball, or disc type? Knowing this helps in pinpointing the issue.
- Shut off the water: Locate the valves beneath the sink and turn off the water supply to avoid a miniature flood during your repair work.
- Disassemble the handle: Carefully remove the handle parts, keeping track of their order and orientation.
- Inspect the parts: Check for visible signs of wear and tear on the O-rings, washers, and valve seats.
By understanding the culprit behind the leak and addressing it with precision, you can not only fix a pesky drip but also extend the life of your kitchen faucet. Remember, a well-maintained faucet not only saves water but also acts as a reliable tool in your culinary adventures.
Identifying The Leak
Experiencing a leaky kitchen faucet handle can be frustrating and wasteful. Pinpointing the source requires checking for worn O-rings or faulty seals, which are often the culprits. Address these quick fixes to prevent water waste and keep your faucet operating smoothly.
A pesky drip beneath the kitchen faucet handle can be much more than a minor annoyance; it’s a sign that something within the faucet mechanism isn’t functioning as it should. Defining the exact point of leakage is the first essential step towards fixing the issue.
An unnoticed leak has the potential to cause significant damage over time, so prompt attention is necessary. When it comes to a leak in the kitchen faucet handle, identifying its location is imperative for a successful repair.
Visual Inspection
Start by thoroughly inspecting the handle area. You’re looking for any signs of water or moisture:
- Water presence: If you see water beading on the faucet handle or notice a dampness when you touch it, this indicates a surface leak.
- Rust or corrosion: Any visible rust or discoloration on the handle or connecting mechanisms may point to a chronic leakage issue.
Check For Overtightening
- Handle resistance: If it’s harder to turn the handle than usual, the pressure may be causing excess strain on the seals, leading to a leak.
- Screw tightness: Over-tightened screws can warp or crack sealing components, so ensure they are snug but not excessively tight.
Assessing The Seal
One common location for a leak is the seal or the O-ring. To accurately evaluate this, you might:
- Disassemble the handle: Carefully take apart the faucet handle to check the condition of the O-ring or any gasket present.
- Examine for wear and tear: Look for any signs of cracking, brittleness, or other damage that could compromise the seal’s integrity.
Handle Operation
Understanding how the handle operates when in use can offer clues:
- Movement and flow: Observe the water flow as you turn the handle on and off. Inconsistent flow or drips during operation suggest internal issues.
- Sound and smoothness: A handle that doesn’t operate smoothly or makes unusual noises is often indicative of worn internal components that may be causing the leak.
Tools And Materials
Addressing a kitchen faucet leak requires the right tools and materials. Essential items include a wrench, screwdriver, O-rings, and valve seats to ensure a successful repair.
Dealing with a leaky kitchen faucet can be frustrating, especially if the drip-drip sound is the backdrop to your daily routine. Before you can fix the drip, you need the right set of tools and materials to get the job done efficiently.
Below, you’ll find a guide to gathering all that you’ll need to stop that leak and restore peace to your kitchen atmosphere.
Essential Tools For The Job
Repairing a leaky faucet handle requires some basic tools, many of which you might already have in your toolbox. Here’s what you’ll need:
- Adjustable wrench: For gripping and turning the nuts that secure the faucet.
- Screwdriver set: A variety of sizes and head types are helpful as faucet screws can vary.
- Hex key or Allen wrench: Some faucets use hex screws, so having a set of these can come in handy.
- Plumber’s tape: This tape is used to create watertight seals on threaded pipes.
- Channel-lock pliers: These offer a strong grip for stubborn components.
Equipping yourself with these tools will prepare you for the most common faucet repair tasks. From tightening loose nuts to replacing old washers, having the right tool means you’re halfway to stopping that leak.
Necessary Materials To Halt The Drip
Beyond the tools, specific materials are crucial for ensuring a watertight seal and smooth faucet operation. Let’s delve into what you might need:
- Cartridge or valve seat: Depending on the model, replacing the entire faucet cartridge or valve seat might be necessary.
- O-rings and washers: These are often the culprits behind leaks and should match the size of the originals.
- Plumbing grease: This helps lubricate moving parts and O-rings, ensuring easy operation and a good seal.
- Replacement aerator: If the leak is coming from the spout, a new aerator can sometimes be the fix.
Stocking up on these materials means you’ll be well-equipped to tackle any faucet leak issue head-on. Remember to compare the replacement parts with the old ones to guarantee a perfect fit and long-lasting repair.
Addressing a leaky faucet can be a relatively simple DIY project with the right tools and materials on hand. With this guide, you’re now ready to roll up your sleeves and silence that persistent drip once and for all.
Disassembly And Inspection
Experiencing a leaky kitchen faucet handle can signal the need for a disassembly and examination. Tackling this issue requires a careful review of the internal components to identify wear or damage.
Disassembly Of The Kitchen Faucet Handle
A kitchen faucet suffering from leaks can lead to unnecessary water wastage and potential damage to your kitchen’s aesthetics and functionality. Tackling this issue begins with the careful disassembly of the faucet handle. This process requires a systematic approach to ensure that all components are accounted for and that no additional damage is caused.
Inspecting The Faucet Components
Once you have the faucet handle disassembled, it’s essential to scrutinize each component:
- O-ring and Seals: Check for signs of wear or damage, as these are often the culprits behind leaks.
- Valve Seat: Look for any mineral deposits or corrosion, which could prevent a tight seal.
- Washer: Ensure it is intact and not worn out, as it plays a key role in preventing leaks.
- Cartridge: If your faucet uses a cartridge system, inspect it for any signs of damage or deterioration.
By paying close attention to each of these components during the disassembly and inspection phases, you’re taking a crucial step toward remedying the annoying leak in your kitchen faucet handle. Remember, a keen eye and a methodical approach can save you time and money, restoring the functionality of your kitchen’s centerpiece.
Repairing The Leak
A dripping kitchen faucet handle can spell trouble for homeowners. Tackling this issue swiftly, often with a simple internal mechanism adjustment, prevents water waste and potential damage.
A dripping kitchen faucet may not seem like a pressing matter, yet the relentless sound of water droplets can turn into a profound annoyance over time, not to mention the potential for a hefty water bill and wastage. It’s a problem that you can often tackle without the need for a professional plumber.
Below we dive into a step-by-step guide on how to repair that pesky leak emanating from the handle of your kitchen faucet.
Identifying The Cause Of The Leak
Before you can fix a leaky faucet, it’s essential to understand the root cause. Is the issue stemming from worn-out O-rings, a deteriorated valve seat, or faulty washers? Here’s why they matter:
- Worn-out O-rings: The O-ring is a small disc attached to the stem screw that holds the handle of the faucet in place. Over time, it can dry up or crack, leading to leaks near the handle.
- Deteriorated valve seat: The valve seat connects the faucet and the spout. Mineral deposits from water can corrode the valve seat, resulting in leakage.
- Faulty washers: Each time you use the faucet, the washer is forced against the valve seat, and this constant friction can cause it to wear out. A worn-out washer could be the culprit of the leak.
Steps For
Addressing the leakage in your kitchen faucet is a manageable task if you follow the correct steps. As with any DIY project, ensuring you have the right tools and parts before you begin is crucial.
Let’s break down the procedure:
- Shut off the water supply: Locate the valves under the sink and rotate them clockwise to cut off the water supply. This will prevent water from gushing out as you work.
- Disassemble the faucet handle: Remove any decorative parts on the handle, then take out the screw that mounts the handle to the stem. Lift off the handle carefully.
- Inspect the O-ring and washer: With the handle off, review the O-ring and washer located at the base of the stem. Check for evident wear or damage.
- Replace faulty parts: If the O-ring or washer is damaged, replace them with exact replicas from your local hardware store. Ensure they’re a perfect fit for your model of faucet.
- Reassemble and test your faucet: Once the new parts are in place, reconstruct the handle and turn the water supply back on. Observe if the leak has been resolved.
Remember, even though leaks are common, they signal that something within your faucet’s anatomy isn’t working correctly. With a keen eye for detail and a gentle touch, you can stop that annoying dribble and enjoy the serene ambiance of a leak-free kitchen.
Reassembly And Testing
Reassembling a kitchen faucet demands precision to ensure a secure, leak-free handle. Post-reassembly, rigorous testing is crucial to confirm the repair’s success and prevent future drips.
Reassembling Your Kitchen Faucet
After carefully replacing any worn-out components and ensuring all parts are clean, the reassembly of your kitchen faucet is a pivotal step. This process is straightforward but requires attention to detail to prevent future leaks and ensure optimal functionality.
Step-by-step Guide For Reassembly:
- Align the parts correctly: Place each component back in its original position, taking care to align everything as it was before disassembly.
- Secure the components tightly: Ensure that all nuts and screws are tightened appropriately to avoid any wobbly parts that could cause leaks.
- Check the seals: Confirm that the O-rings and gaskets are seated well to prevent water from escaping through any gaps.
Testing The Faucet For Leaks
Once you have reassembled the faucet, testing is crucial to confirm that the issue has been resolved. Turn on the water slowly and observe the handle area closely for any signs of leaking. Listen for unusual sounds that could indicate a problem.
A successful repair will have your faucet functioning smoothly, without drips or mishaps.
Final Inspection And Maintenance Tips:
After the testing phase, it’s beneficial to make a final inspection of your kitchen faucet. This post-repair check ensures everything is in perfect working order and helps to identify any small issues before they become big problems.
- Look for steady water flow: Verify that the water flows evenly and without sputter, which indicates a well-done job.
- Double-check tightness: Give another check to make sure that all handles and fittings are secure.
- Plan routine checks: Schedule regular inspections to catch any future leaks early.
By following these instructions, you can effectively fix a leaky kitchen faucet handle, restore full functionality to your faucet, and gain peace of mind knowing your handiwork is leak-free.
Preventive Measures
Addressing kitchen faucet leaks at the handle promptly can avoid water damage and mold growth. Regular maintenance, including tightening loose parts and replacing worn O-rings, serves as the best defense against such leaks.
A leaky kitchen faucet handle can be both a nuisance and a precursor to further damage if left unattended. The relentless dripping not only wastes water but can also lead to water stains and corrosion over time. Following a strategic approach to preventive measures can help you maintain a faucet that operates seamlessly and extends its lifetime significantly.
Routine Inspection
Regular check-ups can play a pivotal role in preventing leaks at the kitchen faucet handle:
- Visual Assessment:
Regularly inspect your faucet to catch signs of wear and tear early. Look for corrosion, mineral deposits, or deteriorating seals that could signal potential problems.
- Handle Movement:
Ensure that the handle moves smoothly without too much resistance or looseness, as these can be indicators of internal issues needing attention.
Proper Maintenance Practices
Maintaining your kitchen faucet is not a herculean task and can be seamlessly integrated into your cleaning routine:
- Cleaning:
Keep the faucet clean to prevent build-up that can damage its components. Use a gentle cleaner and soft cloth to protect the finish and remove debris.
- O-Ring and Washer Care:
Over time, the O-ring and washers can wear out. Lubricating them or replacing them when they start to show wear can save you from future leaks.
By adopting these preventive strategies, you can avoid the inconvenience of a leaking kitchen faucet handle, ensuring that your kitchen remains a functional and tidy space. Remember, a little preventive care goes a long way in safeguarding your home from water damage and keeping your plumbing in peak condition.
Frequently Asked Questions Of Kitchen Faucet Leaks At Handle
Why Does My Kitchen Faucet Leak At The Handle?
How Can I Fix A Leaking Faucet Handle Myself?
What Tools Are Needed For A Diy Faucet Leak Repair?
Can A Plumber Repair A Faucet Leak Quickly?
Conclusion
Wrapping up, and tackling a leaky kitchen faucet handle swiftly prevents further damage and saves water. Regular maintenance and timely repairs ensure a functional, efficient kitchen. Remember, with the right tools and a bit of know-how, you can keep your faucet in top shape.
Don’t hesitate to call a professional if the task seems daunting. Your kitchen’s integrity is worth it.
More kitchen Faucets recommendations
- Top 10 The Best Luxury Kitchen Faucets for Every Budget
- What Is the Highest GPM Kitchen Faucet? Meet the Moen Arbor
- Best Gold Kitchen Faucets of 2023: Top 5 Picks for a Luxurious Look
- Waypoint Cabinets vs KraftMaid: Which is the Better Choice?
- American Woodmark Cabinets: Real Customer Reviews
- Midea Appliances Reviews: What Customers Are Saying
- The Best High-End Kitchen Faucets for Every Budget
- Allen and Roth Kitchen Faucet With LED Light:
- How to install a Moen Kitchen Faucet With Sprayer
- How to Install a Kohler Kitchen Faucet: A DIY Tutorial