We may earn money or products from the companies mentioned in this post.
Adding toppers to your kitchen cabinets is a great way to add extra storage space and improve the overall look of your kitchen. In this step-by-step guide, we’ll show you how to add toppers to your kitchen cabinets like a pro.
Have you been looking for ways to add more storage space to your kitchen? Or maybe you just want to freshen up the look of your cabinets without a pricey renovation. Adding cabinet toppers is an easy DIY solution that can transform the functionality and style of your kitchen. In just a weekend, you can gain extra storage space and give your kitchen a custom, built-in look on a budget.
Why Add Toppers to Your Kitchen Cabinets?

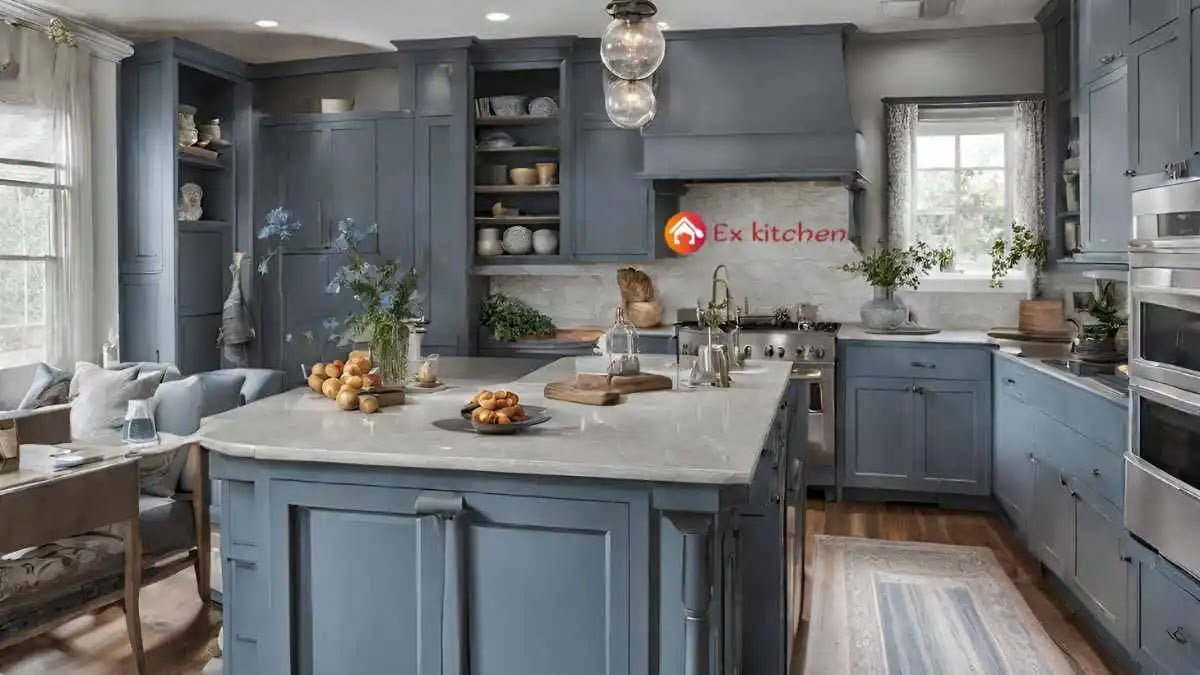
A simple option to increase storage capacity and enhance the look of your kitchen cabinets is to add toppers, also referred to as cabinet crowns or valances. Above your cabinets, cabinet toppers provide an extra shelf that’s ideal for storing knickknacks or ornaments.
- Acquire important storage capacity. Often, the space above your cabinets is unused. With cabinet toppers, you may use this area to keep things like linens, platters, and flowers that you don’t use often.
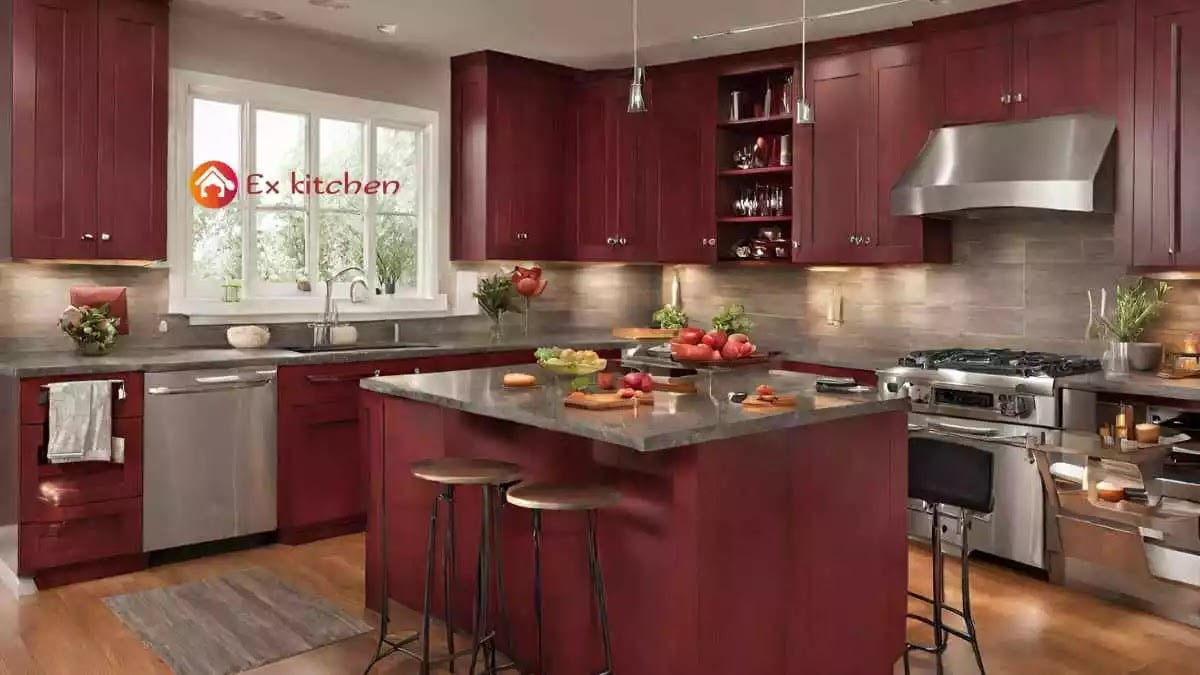
- Makeover the appearance of your kitchen. The correct cabinet topper may unify the appearance of your cabinets and highlight the kitchen’s architectural features. They come in an assortment of designs to complement the interior design of your kitchen.
- Guard your cabinetry. Cabinet toppers shield the tops of your kitchen cabinets from crumbs, oil spatter, and other flying debris. They contribute to the extended beauty retention of your cabinets.
Raising the cabinets’ height will help. Cabinet toppers are a simple solution for those with high ceilings to provide the appearance of bespoke cabinets on conventional cabinets. Your kitchen won’t seem top-heavy by using a topper to balance out the area above the cabinets.
Because cabinet toppers have so many advantages, you should think about including them in your kitchen redesign or renovation. With prices varying from $50 to $500 based on size, material, and design, cabinet tops are also an affordable choice. So why not use this easy fix to increase your kitchen’s storage capacity and aesthetic appeal?
Planning Your Kitchen Cabinet Toppers

Now that you have your supplies, it’s time to start planning how your new cabinet toppers will look.
Decide on a style
Do you want a rustic, farmhouse look with wood boards? Sleek glass for a modern kitchen? Or maybe tile to match your backsplash? The options are endless. Think about the overall style of your kitchen and what would complement it best.
Measure your space
You’ll need to measure your cabinet tops precisely to get toppers that fit properly. Measure the width, depth, and height of your cabinets. It’s best to have someone else double-check your measurements. Write them down so you have them handy when shopping.
Choose a material
- Wood like pine, oak, or bamboo is popular, durable, and can match most decor. Wood can be stained or painted to suit your needs.
- Tile, stone, or concrete toppers are attractive but can be heavy. Make sure your cabinets can support the weight.
- Glass or acrylic toppers open up the space and reflect light. They require extra support strips along the sides.
- Metal like stainless steel provides an industrial modern look. It may dent or scratch more easily though.
Once you’ve decided on a style and material, it’s time to head to the home improvement store to purchase your toppers and any additional supplies like construction adhesive, caulk or metal brackets. With some careful measuring and installation, your new cabinet toppers will transform your kitchen in no time!
Choosing the Right Materials for Your Cabinet Toppers

When choosing materials for your cabinet toppers, there are several options to consider based on your needs, budget, and style preferences.
(getButton) #text=(Check Price Cabinet Toppers) #icon=(cart) #color=(#175A28)
Wood
Wood is a classic, attractive choice for cabinet toppers. Options like pine, oak, and maple are budget-friendly, while exotic hardwoods like mahogany or teak will cost more but provide an upscale look. Wood does require occasional sealing or staining to prevent water damage and maintain its appearance.
Laminate
Low-cost and easily maintained laminate worktops are available. There are several designs for laminate that imitate wood, stone, and other natural materials. It resists heat, scratches, and stains, although extreme heat may cause it to deform or bubble. Where parts come together, laminate usually has noticeable seams.
Stone
Granite, marble, quartz, and soapstone are popular natural stone choices for cabinet toppers. Stone instantly adds elegance and value to a kitchen but tends to cost significantly more than other materials. Stone requires periodic sealing to prevent staining and scratching. Softer stones like marble stain and scratch more easily than harder stones such as granite.
Stainless Steel
Stainless steel provides a sleek, modern look for cabinet toppers. It’s extremely durable, heat and stain-resistant, and low maintenance. However, stainless steel shows fingerprints and scratches more easily and can create a noisy, industrial feel. Stainless steel typically costs more than laminate but less than natural stone.
Tile
Ceramic tile, porcelain tile, stone tile, or glass tile create an attractive custom look for cabinet toppers. Tile allows you to mix and match colors, patterns, and textures. However, tile requires a sturdy base like cement board and can be difficult for DIY installation. Tile grout also stains easily and requires regular sealing.
In the end, weigh your priorities and choose a material for your cabinet toppers that fits your needs, budget, and style. With the right care and maintenance, any of these options can provide a beautiful finish for your kitchen cabinets.
Measuring Your Existing Cabinets
Once you have your toppers picked out, it’s time to take some measurements to ensure a proper fit. You’ll need to measure your existing cabinets to determine the correct size of topper to purchase.
Measuring Your Cabinets
- A tape measure is required before you begin. Take an inch-wide measurement from the edge to the edge of your cabinets. In case the cabinets are not quite square, be sure to take measurements at both the top and bottom of the units. The required topping width may be calculated using the lesser of the two measurements.
- Next, take a measurement of your cabinet depth. When the cabinet doors are closed, measure from the wall to the front edge of the doors. This measurement will establish the topper’s distance from the wall as it will rest flush with the cabinet’s front edge.
- Last, but not least, take a measurement of the height between the tops of your cabinets and the ceiling. Since the topper will occupy this area, take precise measurements to determine the required height. Taking measurements at many points along the cabinet run is recommended due to the uneven nature of ceilings. For optimal fit, round to the closest inch.
:
- You may browse for toppers with confidence knowing they will suit your area appropriately after you have all the relevant specifications. The finest fit should be found in tops that are within an inch of your dimensions. In order to guarantee a perfect fit, you may often make small modifications during installation if the dimensions are a little off.
- Having an additional pair of hands may assist in raising and securing the toppers in position during installation. It may be necessary to cut the toppers to fit before attaching them to the cabinets. To trim them to the desired height, use a Dremel tool, jigsaw, or circular saw. Next, just set the toppers atop the cabinets, make sure they are level, and fasten them firmly by inserting screws through the topper and into the cabinet frame.
- For a completely completed appearance, add trim pieces around the toppers’ edges. Around the margins where the trim and walls meet, caulk. After everything is finished, fill your new topping area and enjoy the additional kitchen storage!
Picking the Perfect Style and Design

Picking the style and design of your cabinet toppers is an important decision that will determine how they complement your existing kitchen decor. There are many options to choose from, so take your time to evaluate different styles and find ones that match your kitchen’s overall look and feel.
Wood species
For a rustic or farmhouse-style kitchen, natural wood toppers made of oak, pine, or hickory are ideal. Wood toppers with a distressed or weathered finish will enhance a rustic look. For contemporary kitchens, maple, beech, or birch toppers with a sleek lacquered finish are stylish choices. Exotic hardwoods like teak, acacia, or bamboo create a warm, earthy vibe.
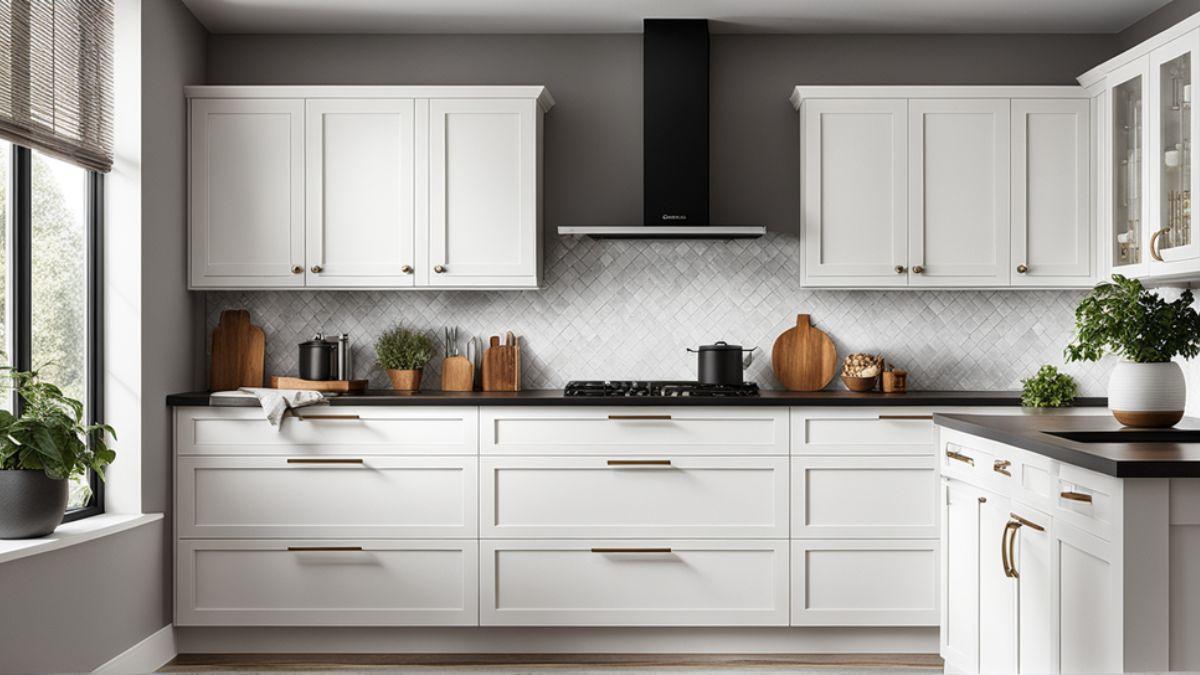
Painted or laminate
If you want to add a pop of color to your kitchen, consider painted or laminate toppers. Painted toppers can be customized in any color to match your kitchen walls or cabinets. Laminate toppers provide an affordable option in a variety of patterns like wood grain, stone, or abstract prints. They work well in both traditional and modern kitchens.
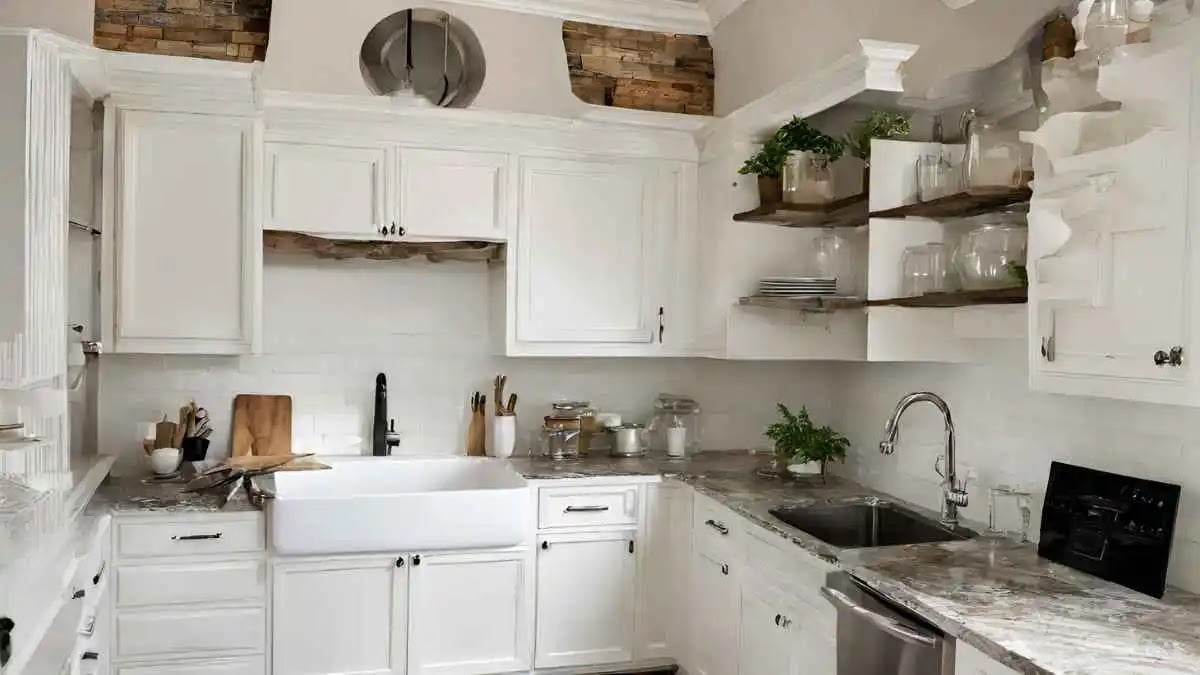
Open or enclosed storage
Determine if you want open shelving to display items or enclosed cabinetry for hidden storage. Open shelving creates an airy, spacious feel but requires keeping items organized and dust-free. Enclosed cabinetry with doors provides concealed storage for small appliances, linens, dishes, and more. A mix of open and enclosed toppers offers the benefits of both styles.
Hardware and accents
Don’t forget to pick matching hardware like knobs, pulls, or handles to complete the look. For wood or laminate toppers, brushed nickel, black, or oil-rubbed bronze hardware pairs nicely. Painted toppers work well with hardware in a complementary or contrasting color. You can also add trim pieces, corbels, or molding to accentuate the toppers and tie them in with the rest of the kitchen decor.
With so many options to choose from, you’re sure to find cabinet toppers that are the perfect style and design for your kitchen. Take your time exploring different looks to create a customized solution that fits both your storage needs and personal style.
Preparing Your Cabinets for Installation

To prepare your cabinets for new toppers, you’ll want to make sure they’re clean, secure, and level. This will ensure the toppers sit properly and look their best.
Clean your cabinets
First, wipe down the tops of your cabinets to remove any dust or debris. Use a damp cloth or multi-surface cleaner and wipe in the direction of the wood grain. Let the cabinets dry completely.
Check for any damage
Inspect the cabinets for any damage or imperfections that could prevent the toppers from sitting flush. Look for dents, warped areas, or water damage. Fill in or sand down any dents and seal or patch any water damage before installing the toppers.
Ensure cabinets are secure
Make sure your cabinets are securely fastened to wall studs before adding the extra weight of toppers. If cabinets rock or shift when you push on them, the toppers could become unstable. You may need to re-secure the cabinets by driving additional screws through the cabinet backs into wall studs.
Level the cabinets
Use a level to check that your cabinets are even from front to back and side to side. Place the level along the tops of adjacent cabinets to check they’re in the same plane. Shim underneath cabinets as needed to level them. The toppers will only look as level as the cabinets below, so take the time to get this right.
Consider height
Measure the height of your existing cabinets to determine the height of toppers you need. Most toppers are available in 3- to 6-inch heights. Choose a height that will give you adequate storage space without making the cabinets look top-heavy. Standard cabinet heights are 30 to 36 inches, so a 3- to 6-inch topper is usually ideal.
Following these steps to prepare your cabinets will ensure a smooth installation and a polished result. Your new cabinet toppers will look like a custom built-in, giving your kitchen an upgraded, high-end feel.
Installing Your New Cabinet Toppers
Once you have your cabinet toppers cut to size, you’re ready to install them for an instant kitchen upgrade.
Gather Your Supplies
To install the toppers, you’ll need:
- Wood glue
- Clamps (to hold the pieces in place as the glue dries)
- Nails or wood screws
- A nail gun or drill/driver
- Sandpaper
- Primer (if painting the toppers)
- Paint (if painting the toppers)
Apply Wood Glue
Apply a bead of wood glue to the top edge of your existing cabinets where the new topper will sit. Make sure you have good coverage over the entire edge.
Position and Clamp the Topper
Place your cabinet topper over the edge of the cabinets. Push down firmly to adhere it to the glue. Place clamps along the edge to hold everything in place as it dries. Wipe away any excess glue that squeezes out.
Secure with Nails
Once the glue is dry, you can remove the clamps. Secure the topper to the cabinets using nails or wood screws. Space them about 6 to 8 inches apart. Drive the nails in at an angle through the topper and into the cabinet frame.
Sand and Paint (Optional)
If desired, you can sand, prime, and paint the cabinet toppers to match your existing cabinets. Lightly sand any rough areas, then apply 2 coats of primer followed by 2 coats of paint, letting each coat dry in between.
Add Trim (Optional)
For an even more custom look, you can add wood trim pieces around the edges of the toppers. Miter the corners for a neat, professional finish. Glue and nail the trim in place. Paint the trim to match if painting your toppers.
Your new cabinet toppers are now fully installed and ready to use. Enjoy your upgraded kitchen storage and style! Let us know if you have any other questions.
Decorating and Organizing Your New Cabinet Toppers

Now that your new cabinet toppers are installed, it’s time to organize and decorate them. Here are some tips to make the most of your additional storage space:
Add lighting
Install under-cabinet lighting to brightly illuminate your new space. LED strip lights or puck lights work well and are easy to install. Bright light will make it easier to find items stored up high.
Use matching or coordinating bins
Group similar items in matching bins, baskets or trays. This keeps everything tidy and prevents smaller items from getting lost. Label each bin to make items easy to spot at a glance. For a cohesive look, choose bins that match your kitchen decor.
Store less frequently used items up high
Since the new cabinet toppers may be hard to reach, store items you don’t use often up there. Things like extra linens, electronics, overflow pantry goods or decorations are great options. This frees up easier-to-reach cabinet space and drawers for everyday dishware, cutlery, and pantry staples.
Add decorative touches
Once everything has been organized, you can add decorative accents to finish it off. Some ideas include:
- Display colorful dishware, pottery, or baskets
- Add natural elements like greenery, branches, or fresh or faux fruit
- Include artwork, framed photos, or wall decor above the cabinets to draw the eye upward
- Add crown molding along the top edge of the cabinets for an upgraded built-in look
With some strategic storage solutions and decorative touches, your new cabinet toppers can become a stylish and functional part of your kitchen design. Enjoy your newly expanded and organized kitchen space!
Conclusion
Here are detailed instructions for extending your kitchen’s storage capacity and improving its aesthetic. You can quickly enjoy your unique cabinet toppers if you have a few simple tools, supplies, and patience. Consider all the additional room you’ll have to store dishes, linens, and small appliances; your kitchen will look and feel much better right away. A simple do-it-yourself item that may have a major effect is cabinet toppers. Now go off and begin filling those cabinets! You can do this.
More Best Kitchen Cabinets recommendations
- Corner Kitchen Sink Cabinets: Maximize Space and Functionality
- Kitchen Cabinet Glass: Stylish and Functional
- Light Brown Kitchen Cabinets: A Stylish and Versatile Choice
- Open Kitchen Cabinet Ideas: Inspiration for a Stylish and Functional Kitchen
- White Kitchen Cabinet Hardware Ideas for Every Style
- Kitchen Without Upper Cabinets: Pros, Cons, and Design Ideas
- Open Kitchen Cabinets No Doors: Inspiration, Benefits, and Tips
- Floor To Ceiling Cabinets for Kitchen: Maximize Storage and Style