We may earn money or products from the companies mentioned in this post.
To Fix Kitchen Faucet Handle, tighten the set screw or replace worn components. Ensure the faucet’s valve is off before beginning repairs.
Troubleshooting a problematic kitchen faucet handle often leads to a common DIY home improvement task. A loose handle can typically be corrected by simply tightening the set screw located under the decorative cap. Yet, when parts are worn out, replacement becomes necessary, involving removing the handle and switching out the faulty pieces.
Before tackling this fix, always turn off the water supply to prevent any accidental spills or damage. This simple repair not only restores functionality but also avoids the cost of calling a plumber. Taking the time to address faucet issues promptly can save both water and money in the long run, not to mention the satisfaction of a job well done.
Understanding The Issue
Have you ever reached out to turn on your kitchen faucet, only to find the handle loose or unresponsive? A malfunctioning faucet handle is not just a minor inconvenience; it’s a signal that there could be underlying issues impacting your daily kitchen routine. Understanding the issue is the first step towards a seamless repair. It all starts with what you observe and how you interpret the signs your faucet is showing.
Identifying The Problem With The Faucet Handle
Determining what’s wrong with your faucet handle is crucial. Start by examining the handle’s movement. Does it wobble? Is it too tight or completely immovable? Perhaps it turns endlessly without turning the water on? These symptoms can point toward different challenges, from worn-out O-rings to a broken valve stem. Taking note of the specific issue will help you tailor your approach and effectively resolve the problem.
Common Challenges Faced By Homeowners
When dealing with faucet handles, homeowners commonly encounter a range of issues:
- Corrosion: Over time, water and environmental factors can lead to the corrosion of metal components.
- Accumulation of Mineral Deposits: Hard water can leave behind calcium and mineral build-up that hampers movement.
- Wear and Tear of Components: Daily use affects the integrity of the faucet’s internal mechanisms.
Each of these issues calls for a specific solution, from a simple cleaning to replacing parts.
Importance Of Addressing The Issue Promptly
Addressing a faulty faucet handle without delay is essential. Allowing the problem to persist can lead to increased water bills, further damage, or even a full-fledged kitchen flood. Taking immediate action not only averts potential crises but also guarantees the longevity of your faucet’s overall functionality.
Credit: www.familyhandyman.com
Tools And Materials Needed
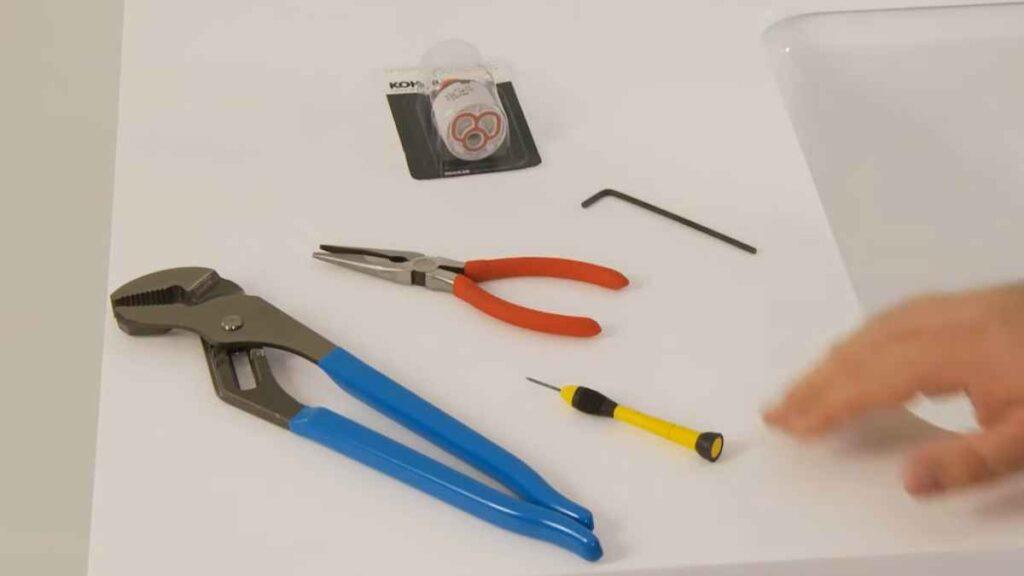
Before diving into the nitty-gritty of fixing a kitchen faucet handle, it’s imperative to gather all the necessary tools and materials. A prepared DIYer is an efficient one, minimizing frustrations and possible trips back to the hardware store. From wrenches to washers, this section will guide you through the essentials for a smooth repair job.
Essential Tools For The Task
A successful faucet repair begins with the right tools. Ensure you have the following on hand:
- Adjustable Wrench: To loosen and tighten nuts and bolts.
- Allen Wrench Set: For handles that are fastened by hex screws.
- Slip-joint Pliers: Useful for gripping and turning parts that are hard to grasp.
- Screwdriver Set: Both flathead and Phillips-head to suit various screw types.
- Flashlight or Headlamp: To illuminate the workspace under the sink.
Recommended Materials For A Successful Repair
The right materials are just as important as the proper tools. Here’s what might be needed:
- Replacement Parts: These might include new O-rings, a valve seat, or a cartridge, depending on the faucet issue.
- Plumber’s Grease: Essential for lubricating moving parts after cleaning or replacement.
- Thread Seal Tape: Also known as Teflon tape, for ensuring a watertight seal on threaded joints.
- Washers and Gaskets: Often, leaks are due to worn-out washers or gaskets; having replacements on hand is wise.
- Cleaner: A non-abrasive cleaner for removing grime and buildup on the faucet.
With the right tools and materials at your fingertips, you’re ready to tackle that kitchen faucet handle repair with confidence.
Step-by-step Repair Process
A dripping or loose kitchen faucet handle can be a minor annoyance that leads to a larger water bill. Before calling a plumber, consider tackling the issue yourself by following this comprehensive repair guide. Not only could you save money, but you’ll also gain a valuable skill!
Shutting Off The Water Supply
The first crucial step in repairing your kitchen faucet handle is to turn off the water supply. This prevents any potential water mishaps. You’ll typically find the shut-off valves under the sink. Turn the knobs clockwise to cease water flow.
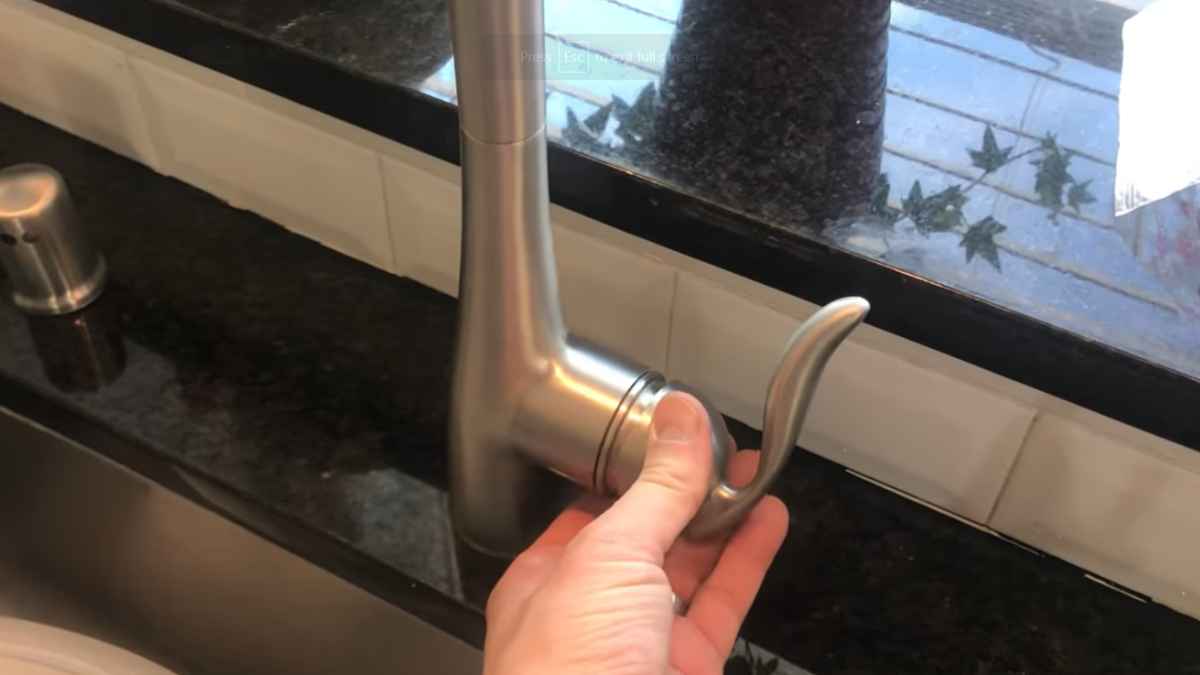
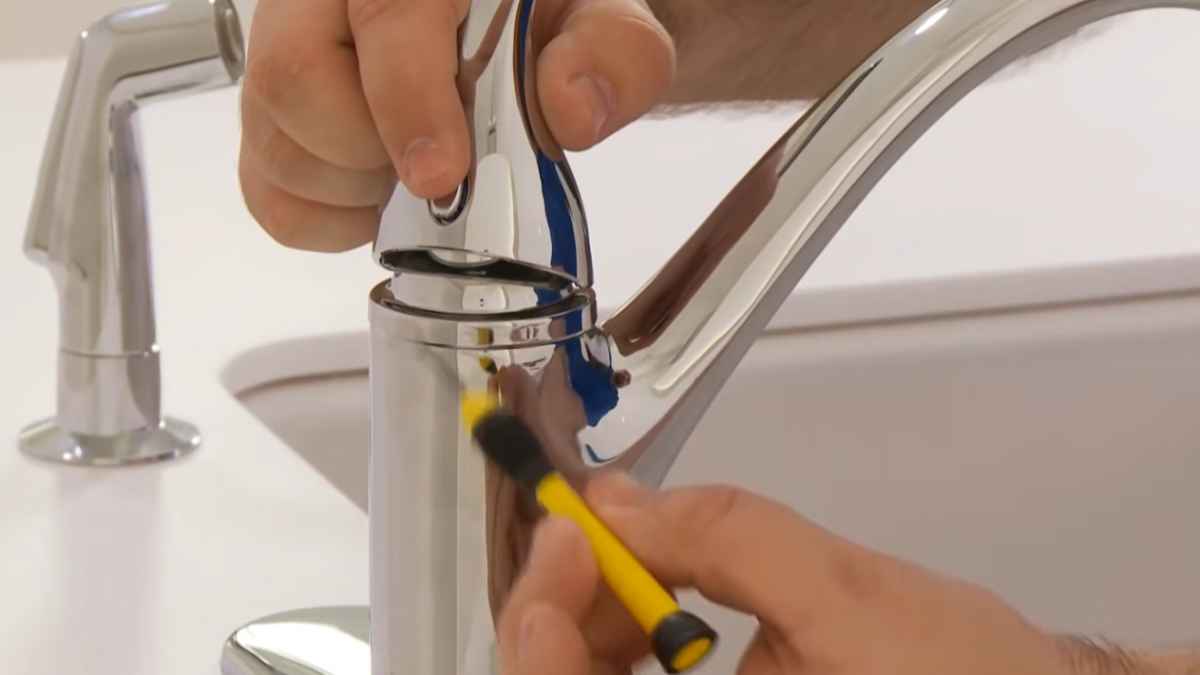
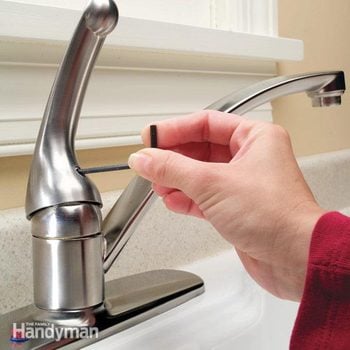
Dismantling The Faucet Handle
Once the water is safely off, you’re ready to dismantle the faucet handle. Start by locating any caps or screws that hold the handle in place. You might need a screwdriver or an Allen wrench for this job. Carefully remove the handle to expose the inner components.
Inspecting For Damaged Components
With the faucet handle removed, inspect all visible components for signs of wear or damage. Look out for common culprits such as broken seals, worn-out O-rings, or corrosion. It’s essential to determine which parts need attention to ensure an effective fix.
Replacing Or Repairing The Faulty Parts
Depending on the inspection, you might need to replace or repair the faulty parts. If you’ve identified a worn O-ring or a damaged cartridge, head to your local hardware store for replacements. Make sure to take the damaged parts with you to find the exact match.
Reassembling The Faucet Handle
Once the faulty parts have been dealt with, it’s time to put the puzzle back together. Reverse the dismantling process to reassemble the faucet handle, ensuring that each component is securely in place. Once done, turn the water supply back on and check for leaks.
By following these steps meticulously, you should be able to fix the kitchen faucet handle issue and restore full functionality to your sink.
Tips For Preventing Future Issues
Ensuring the longevity and proper functioning of kitchen faucet handles requires proactive measures. With diligent care and the right habits, it’s possible to avoid common problems and extend the life of your faucet. In this segment, let’s explore some valuable tips for preventing future issues that could otherwise lead to frustrating repairs or replacements.
Proper Maintenance Practices
Maintaining kitchen faucets is critical in preventing future problems. Here are some maintenance practices that can make a significant difference:
- Clean regularly to prevent the build-up of mineral deposits and grime.
- Use gentle cleaning agents suitable for your faucet’s finish to avoid corrosion or damage.
- Avoid using abrasive materials that scratch or dull the surface.
- Check under the sink periodically for leaks or moisture that could indicate a problem.
- Ensure nuts and screws are tightened, but not overtightened as this can damage parts.
Choosing Durable Faucet Handles
Selecting the right materials and designs is crucial for the durability of faucet handles. Consider the following factors:
| Material | Benefits |
|---|---|
| Stainless steel | Resists corrosion, easy to clean |
| Brass | Durability, resistance to high temperatures |
| Zinc alloys | Cost-effective, good corrosion resistance |
Invest in a faucet with a reputation for lasting quality and ensure it has a warranty.
Regular Inspection And Early Intervention
The key to faucet handling longevity lies in timely inspection and intervention. Implement these practices:
- Inspect the faucet handle for looseness or wobble and remedy it immediately.
- Listen for any unusual noises when in use, which could indicate wear or malfunction.
- Replace any worn-out parts (like O-rings and washers) to prevent leaks.
- Engage a professional plumber for complex issues beyond basic maintenance.
Early detection and corrective action prevent small issues from escalating into major problems.
Testing And Ensuring Functionality
Once you’ve rolled up your sleeves and tackled the repair of your kitchen faucet handle, it’s crucial to make sure everything works perfectly before considering the job done. The key here is not just to fix the issue but also to ensure long-term reliability and function. Below, we will guide you through the steps of testing your freshly repaired faucet handle and what to do if you encounter any residual issues that need attention. These steps will help you rest easy, knowing that your faucet will perform as expected without any unwelcome surprises. Let’s make sure that your efforts stand the test of time—and water!
Steps To Test The Repaired Faucet Handle
- Turn on the Water Supply: Start by slowly turning the water valves back on. This prevents sudden pressure from damaging the new components.
- Operate the Handle: Gently move the handle through its full range of motion. It should move smoothly without any hiccups or resistance.
- Check for Leaks: With the water running, inspect the faucet for any drips or leaks around the handle and base. Use a flashlight to help spot any moisture.
- Test Water Flow: Ensure that both hot and cold water flow properly and the handle mixes the temperatures correctly.
- Evaluate the Seal: When the handle is in the ‘off’ position, confirm that the water stops completely and there is no dripping from the spout.
Addressing Any Residual Issues
If, after rigorous testing, you notice the faucet still exhibits issues such as leaks or odd noises, don’t worry—we’ve got you covered. Follow these steps to pinpoint and solve these common hiccups:
- Tighten the Handle: Sometimes, a loose handle can cause leaks. Firmly tighten any screws or nuts, but be careful not to overdo it.
- Re-check Seals and O-rings: Ensure all seals and O-rings are properly seated and in good condition. Replace them if they’re worn or damaged.
- Flush out Debris: Debris in the lines might cause blockages. Remove the aerator and run the water to clear any trapped particles.
- Ceramic Cartridge Inspection: If your faucet uses a ceramic cartridge, ensure it’s correctly installed and not defective.
Should issues persist after these attempts, consider seeking professional help to avoid further damage. Remember, a fully functional faucet handle not only eases your daily routine but also maintains the integrity of your plumbing system. So, take the time to perform a thorough check and enjoy the seamless operation of your kitchen faucet.
Frequently Asked Questions Of Fix Kitchen Faucet Handle
How To Tighten A Loose Kitchen Faucet Handle?
Can I Fix A Leaking Faucet Handle Myself?
What Tools Are Needed For Faucet Handle Repair?
Why Is My Kitchen Faucet Handle Hard To Turn?
Conclusion
Tackling a loose kitchen faucet handle can be a swift fix. With the right tools and clear instructions, you’re set for success. Remember to shut off the water supply and work carefully. Prevent future issues by routinely checking your faucet’s hardware.
Ready for your next DIY project? Your sink awaits!
More kitchen Faucets recommendations
- Top 10 The Best Luxury Kitchen Faucets for Every Budget
- What Is the Highest GPM Kitchen Faucet? Meet the Moen Arbor
- Best Gold Kitchen Faucets of 2023: Top 5 Picks for a Luxurious Look
- Waypoint Cabinets vs KraftMaid: Which is the Better Choice?
- American Woodmark Cabinets: Real Customer Reviews
- Midea Appliances Reviews: What Customers Are Saying
- The Best High-End Kitchen Faucets for Every Budget
- Allen and Roth Kitchen Faucet With LED Light:
- How to install a Moen Kitchen Faucet With Sprayer
- How to Install a Kohler Kitchen Faucet: A DIY Tutorial