We may earn money or products from the companies mentioned in this post.
A leaking kitchen faucet handle often indicates worn-out seals or O-rings. To fix it, you’ll generally need to replace these parts.
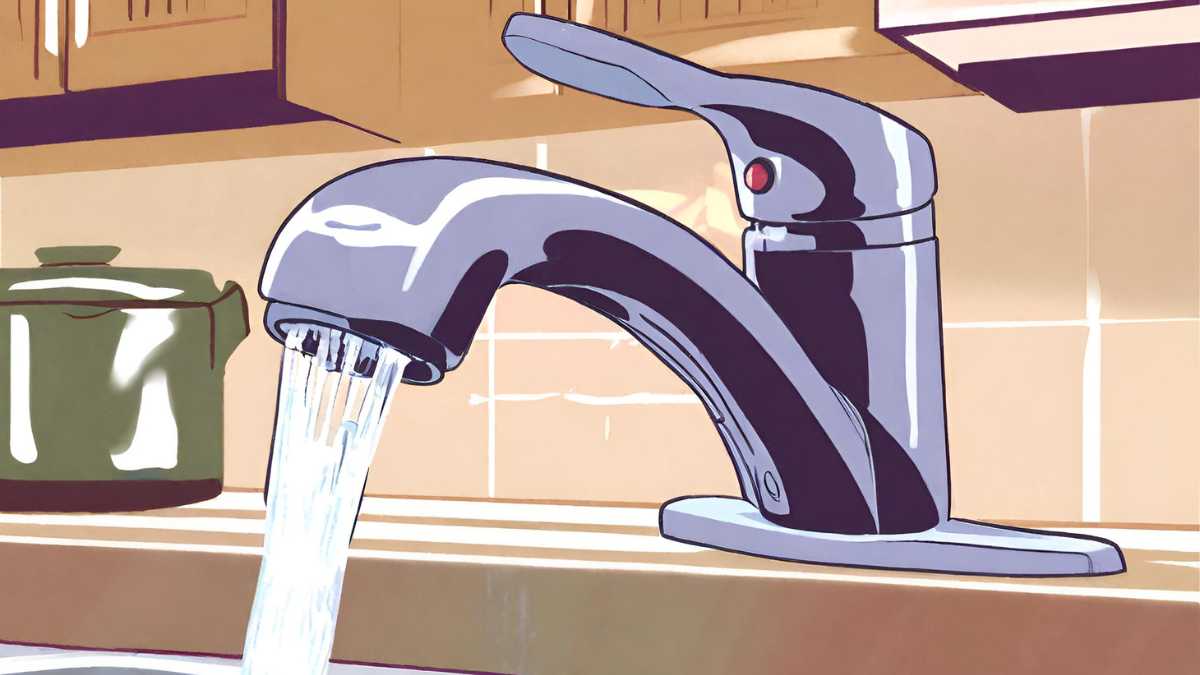
Dealing with a dripping kitchen faucet can be more than just an annoyance; it can lead to wasted water and higher bills. Kitchens are the heart of the home, and a leaky faucet handle disrupts the room’s efficiency and tranquility.
Homeowners and tenants alike seek quick and effective solutions to such problems, not just to save on water usage but to maintain the kitchen’s function and aesthetics. Identifying the cause behind the leakage is the first step to a resolution, and in most cases, it involves a straightforward replacement of small internal components. With the right tools and a bit of know-how, this common plumbing issue can usually be remedied without the need for a professional plumber, making it a potentially easy DIY project. Addressing this minor repair promptly prevents larger issues down the line and ensures your kitchen remains a productive and welcoming space.
Credit: www.bobvila.com
Understanding The Kitchen Faucet Handle Leak
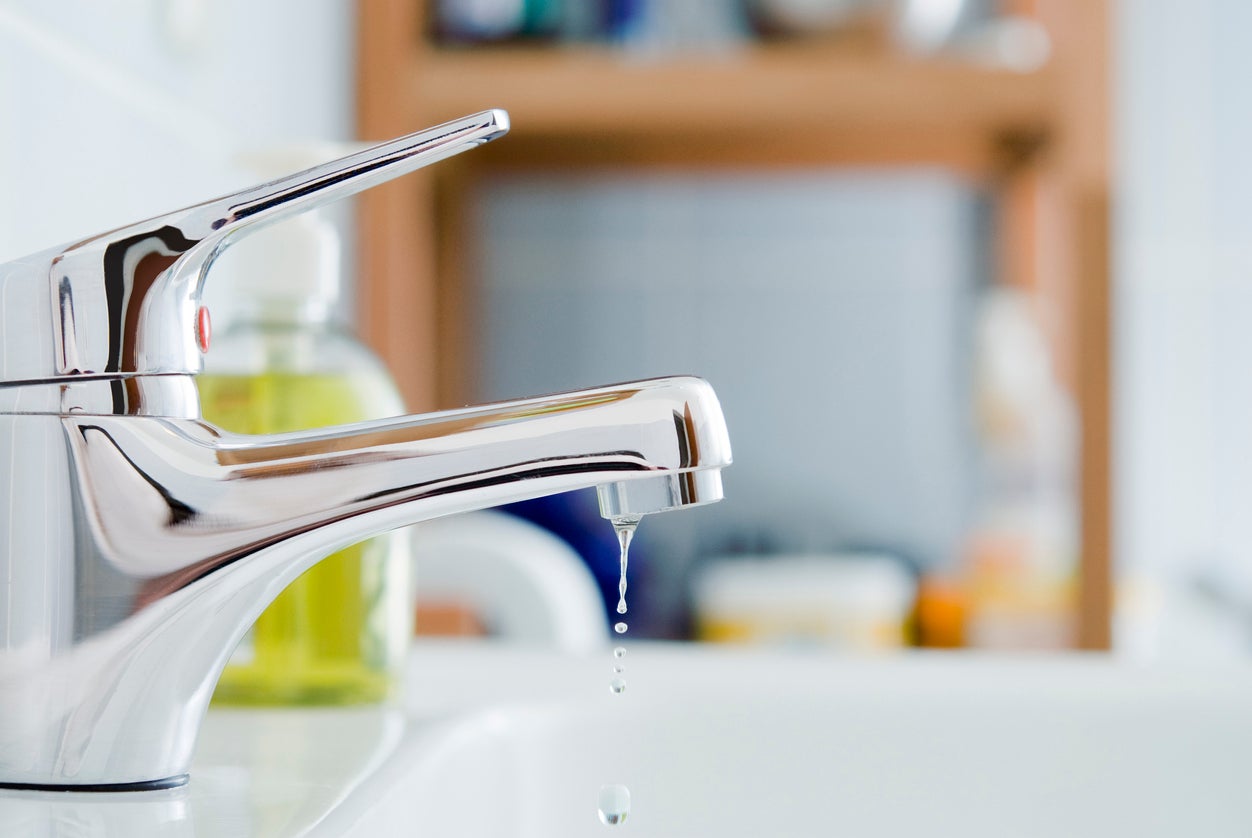
A leaking kitchen faucet handle is a common, yet frustrating issue many homeowners face. Not only can it lead to wasted water and increased bills, but it can also cause water damage to your kitchen counters and sink area if left unattended. Insight into why your faucet handle might be dripping is the first step toward a practical solution. Knowledge of the inner workings of your faucet, combined with a keen eye for detail, can make all the difference in handling this plumbing predicament efficiently.
Inspecting The Leak
Identifying the source of the leak is crucial. Begin by drying off the faucet handle and surrounding area. Next, turn on the water and observe where the water appears to be seeping from. Is it coming from the base of the handle, the tip, or perhaps somewhere else? Use a flashlight to get a better view of hard-to-see spots. Documenting your findings with a notebook or taking pictures can be helpful for further examination or if you need to consult with a professional.
Common Causes Of Faucet Handle Leaks
Several factors can contribute to a leaky kitchen faucet handle. Here’s a list to help pinpoint the likely culprit:
- Worn O-Rings – These small, rubber rings are crucial for creating a tight seal around the faucet handle. Over time, they can become brittle and lose their effectiveness.
- Corroded Valve Seat – The valve seat serves as a connection between the faucet and spout. Corrosion here can lead to leakage around the handle area.
- Improper Installation – A faucet handle that hasn’t been installed correctly might not only wobble but leak as well.
- Loose Parts – Continuous use can cause certain components within the faucet to loosen, leading to drips from the handle.
- Worn Out Washer – Washers press against the valve seat, and when they wear down, you may notice a leak around the handle when the water is turned on.
Knowing these common causes, homeowners can take proactive steps to either fix the issue themselves or inform a plumber with precise details to ensure a swift repair.
Diy Repair Techniques
DIY Repair Techniques can transform the headache of a leaking kitchen faucet handle into an accomplished afternoon task. If you’re tired of the constant dripping that’s hiking up your water bill and looking for a quick fix, rolling up your sleeves and tackling the issue yourself might be the solution you need. No need to be intimidated; with some basic tools and a bit of know-how, you can conquer that pesky leak. The following techniques cater to the most common causes of a leaky faucet handle—let’s dive into the nitty-gritty of home faucet repair!
Tightening The Faucet Handle
A loose faucet handle is a common culprit for leaks. Over time, the screw that holds the handle in place can become loose, causing water to escape around the handle when the faucet is turned on. To address this, grab an Allen wrench or a screwdriver, depending on the screw type on your faucet, and:
- Turn off the water supply to your sink to prevent any accidents.
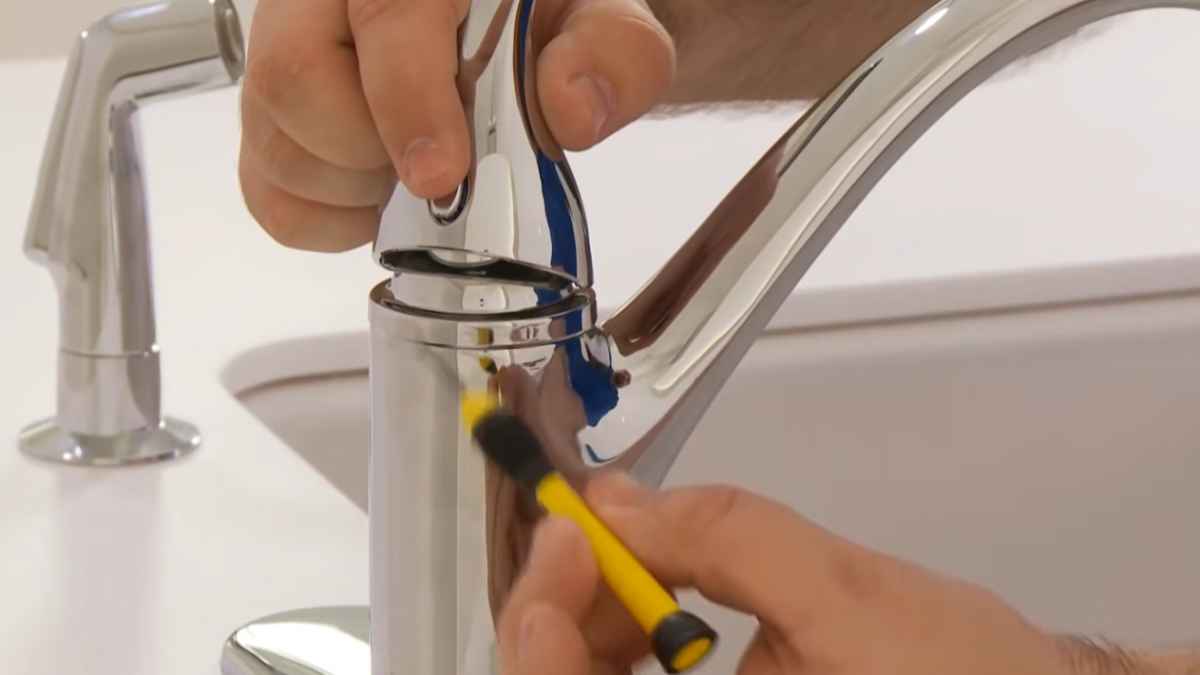
- Locate the screw, which is typically hidden under a decorative cap on the handle.
- Remove the cap and tighten the screw. Be sure to avoid over-tightening as this can cause damage.
Once tightened, restore the water supply and test your faucet. A snugly fitted handle often resolves the dripping issue entirely.
Replacing The O-ring
If tightening the handle doesn’t stop the leak, the O-ring—the rubber gasket that seals the area between the parts—might be the problem. To replace the O-ring:
- Turn off the water supply and drain the remaining water from the faucet.
- Disassemble the faucet handle by removing the screw and taking out any components carefully, keeping track of their order for reassembly.
- Locate the O-ring, which should be at the base of the handle mechanism.
- Remove the old O-ring and replace it with a new one that matches in size and shape. Lubricate the new O-ring with the plumber’s grease to ensure a smooth fit.
Reassembling the handle and turning the water back on should reveal a leak-free faucet. Oftentimes, a fresh O-ring is all it takes to fix the issue.
Armed with these techniques, a leaking kitchen faucet handle can often be fixed without the need for a professional plumber. Keep in mind that persistent leaks or complications might warrant expert attention. Always have your manufacturer’s manual on hand for specific instructions related to your faucet model.
Calling A Professional Plumber
Dealing with a leaking kitchen faucet handle can quickly escalate from a minor inconvenience to a significant issue. While some homeowners may attempt a DIY fix, certain scenarios call for the expertise of a professional plumber. Recognizing when to enlist their services is crucial in preventing water damage, conserving water, and maintaining the integrity of your plumbing system.
When To Seek Professional Help
Knowing the right time to call a plumber is essential. Look for these indicators:
- Worsening Leak: If the leak progresses despite attempts to tighten or replace the handle, you need an expert eye.
- Water Pressure Issues: A change in water pressure alongside a leak can signal deeper problems.
- Visible Damage: Cracks or significant wear and tear on the faucet or surrounding fixtures are clear signs.
- Inconsistent Water Temperature: Difficulty in controlling water temperature might indicate a more complex issue.
- Multiple Leaks: If leaks present in various locations, the problem may extend beyond the faucet.
Hiring The Right Plumbing Service
Choosing a reputable plumbing service is crucial for a successful repair. Consider these steps:
- Research: Read reviews and check ratings of local plumbing services online.
- Experience: Look for plumbers with specific experience in kitchen faucet repairs.
- Licensing and Insurance: Ensure the plumbers are licensed and insured to protect your home during the repair.
- Estimates: Get written estimates from several services for comparison.
- Warranty: Ask about guarantees on parts and labor for added confidence in the repair work.
Remember, a qualified plumber not only fixes the issue at hand but also diagnoses underlying problems, providing long-term solutions for your kitchen’s plumbing.
Regular Maintenance Practices
Kitchen faucets are indispensable components of our daily lives, directly affecting the utility and functionality of one of the most used areas in any home—the kitchen. Like any frequently used item, a kitchen faucet can succumb to wear and tear, potentially leading to leaks and other issues. Engaging in regular maintenance practices helps prevent such problems and prolong the life of your kitchen faucet. Let’s explore some essential maintenance steps to keep your faucet in optimal working condition.
Cleaning And Lubricating
Ensuring your kitchen faucet handle operates smoothly requires consistent cleaning and lubricating. Over time, grime and mineral deposits from water can build up, making the handle stiff and difficult to maneuver. Here are simple steps to follow:
- Turn off the water supply to avoid any accidental spillage.
- Disassemble the handle by removing any screws or caps. Keep these small parts in a safe place.
- Use a mild soap and warm water solution to gently clean all the components. For tougher deposits, a vinegar solution can be effective.
- Once clean, dry all parts thoroughly to prevent corrosion.
- Apply a silicone-based faucet lubricant to the handle’s moving parts before reassembling the unit.
This simple routine, performed every few months, will keep your handle moving freely and can prevent leaks.
Checking Water Pressure
Incorrect water pressure can also lead to a leaking kitchen faucet handle. Both high and low-water pressure can damage the faucet’s internal mechanisms. To check and maintain the correct water pressure, follow these steps:
- Locate and periodically check the pressure-reducing valve, which is typically situated where the main water line enters the house.
- Use a water pressure gauge to test the pressure. Attach it to an outdoor hose bib or behind the faucet in question.
- The ideal water pressure for a home’s plumbing is typically around 60 psi. If the reading is significantly higher or lower, adjustments may be needed.
Regularly monitoring and adjusting water pressure can help prevent undue stress on your faucet, reducing the likelihood of leaks.
Upgrading Faucet Components
Upgrading your kitchen faucet components can be a cost-effective and satisfying way to resolve issues with a leaking handle and to refresh the look of your kitchen. A persistent drip not only wastes water but can also increase your utility bill and cause water damage over time. With the right tools and a bit of know-how, you can turn this annoyance into an opportunity for improvement. Whether it’s replacing a worn-out washer or installing a brand-new fixture, upgrading your faucet can improve functionality and aesthetics.
Installing A New Faucet
Embarking on a kitchen update can lead you to the decision to install a new faucet. This move not only addresses any current leaks but also provides your space with a fresh, modern feature. Start by selecting a faucet that complements your kitchen’s style and meets your functionality needs. Keep in mind compatibility with your sink’s existing setup — the number of holes and spacing is crucial for a proper fit.
- Turn off the water supply valves under the sink.
- Remove the old faucet by loosening the nuts and bolts that hold it in place.
- Clean the surface area to ensure a tight seal for the new faucet.
- Position the new faucet and secure it according to the manufacturer’s instructions.
- Connect the water supply lines, making sure they are tightly fastened.
- Turn the water supply back on and test your new faucet for any leaks.
A successful installation rewards you with a functional and potentially more efficient faucet, contributing to your kitchen’s overall appeal.
Upgrading To A Leak-proof Handle
One targeted fix for a leaky faucet is upgrading to a leak-proof handle. This entails replacing the internal components that are often the culprits of leaks. Modern handles come designed with better seal technology that can withstand daily use and resist corrosion over time.
- Start by shutting off the water supply to prevent any accidental spillage.
- Remove the cap and screw securing the faucet handle, then lift the handle off the stem.
- Take out the old cartridge, O-rings, or washers that are damaged.
- Replace with new, high-quality components that match the specifications of your faucet model.
- Reassemble the handle and turn the water supply back on to test.
This upgrade not only solves your immediate issue but also extends the life of your faucet and can save money in the long term.
Frequently Asked Questions For Leaking Kitchen Faucet Handle
What Causes A Faucet Handle To Leak?
How Can You Fix A Leaky Faucet Handle?
Are Kitchen Faucet Leaks Expensive To Repair?
Can A Leaking Faucet Increase Water Bills?
Conclusion
Tackling a leaky kitchen faucet handle can be straightforward with the right tools and guidance. By addressing the issue promptly, you prevent water waste and potential damage. Remember, regular maintenance is key to a faucet’s longevity. If DIY solutions feel daunting, don’t hesitate to call a professional.
Your kitchen deserves a well-functioning centerpiece.
More kitchen Faucets recommendations
- Top 10 The Best Luxury Kitchen Faucets for Every Budget
- What Is the Highest GPM Kitchen Faucet? Meet the Moen Arbor
- Best Gold Kitchen Faucets of 2023: Top 5 Picks for a Luxurious Look
- Waypoint Cabinets vs KraftMaid: Which is the Better Choice?
- American Woodmark Cabinets: Real Customer Reviews
- Midea Appliances Reviews: What Customers Are Saying
- The Best High-End Kitchen Faucets for Every Budget
- Allen and Roth Kitchen Faucet With LED Light:
- How to install a Moen Kitchen Faucet With Sprayer
- How to Install a Kohler Kitchen Faucet: A DIY Tutorial